That's Fancy
Did you happen to catch the first episode of my new crafting event - That’s Fancy? If you missed it, you can check it out below. You may enjoy watching me goof up and finding ways to fix things. In crafting there are very few mistakes, just opportunities!
So what is That’s Fancy? It is an opportunity to join me on Monday evenings from 7:30 - 8:30 as I share different things from our Stampin' Up! collection and our wonderful crafting world. It may be a fancy fold, a technique, a new product or tool, or just a fun time to see something in action that you may have passed by in the catalogue.

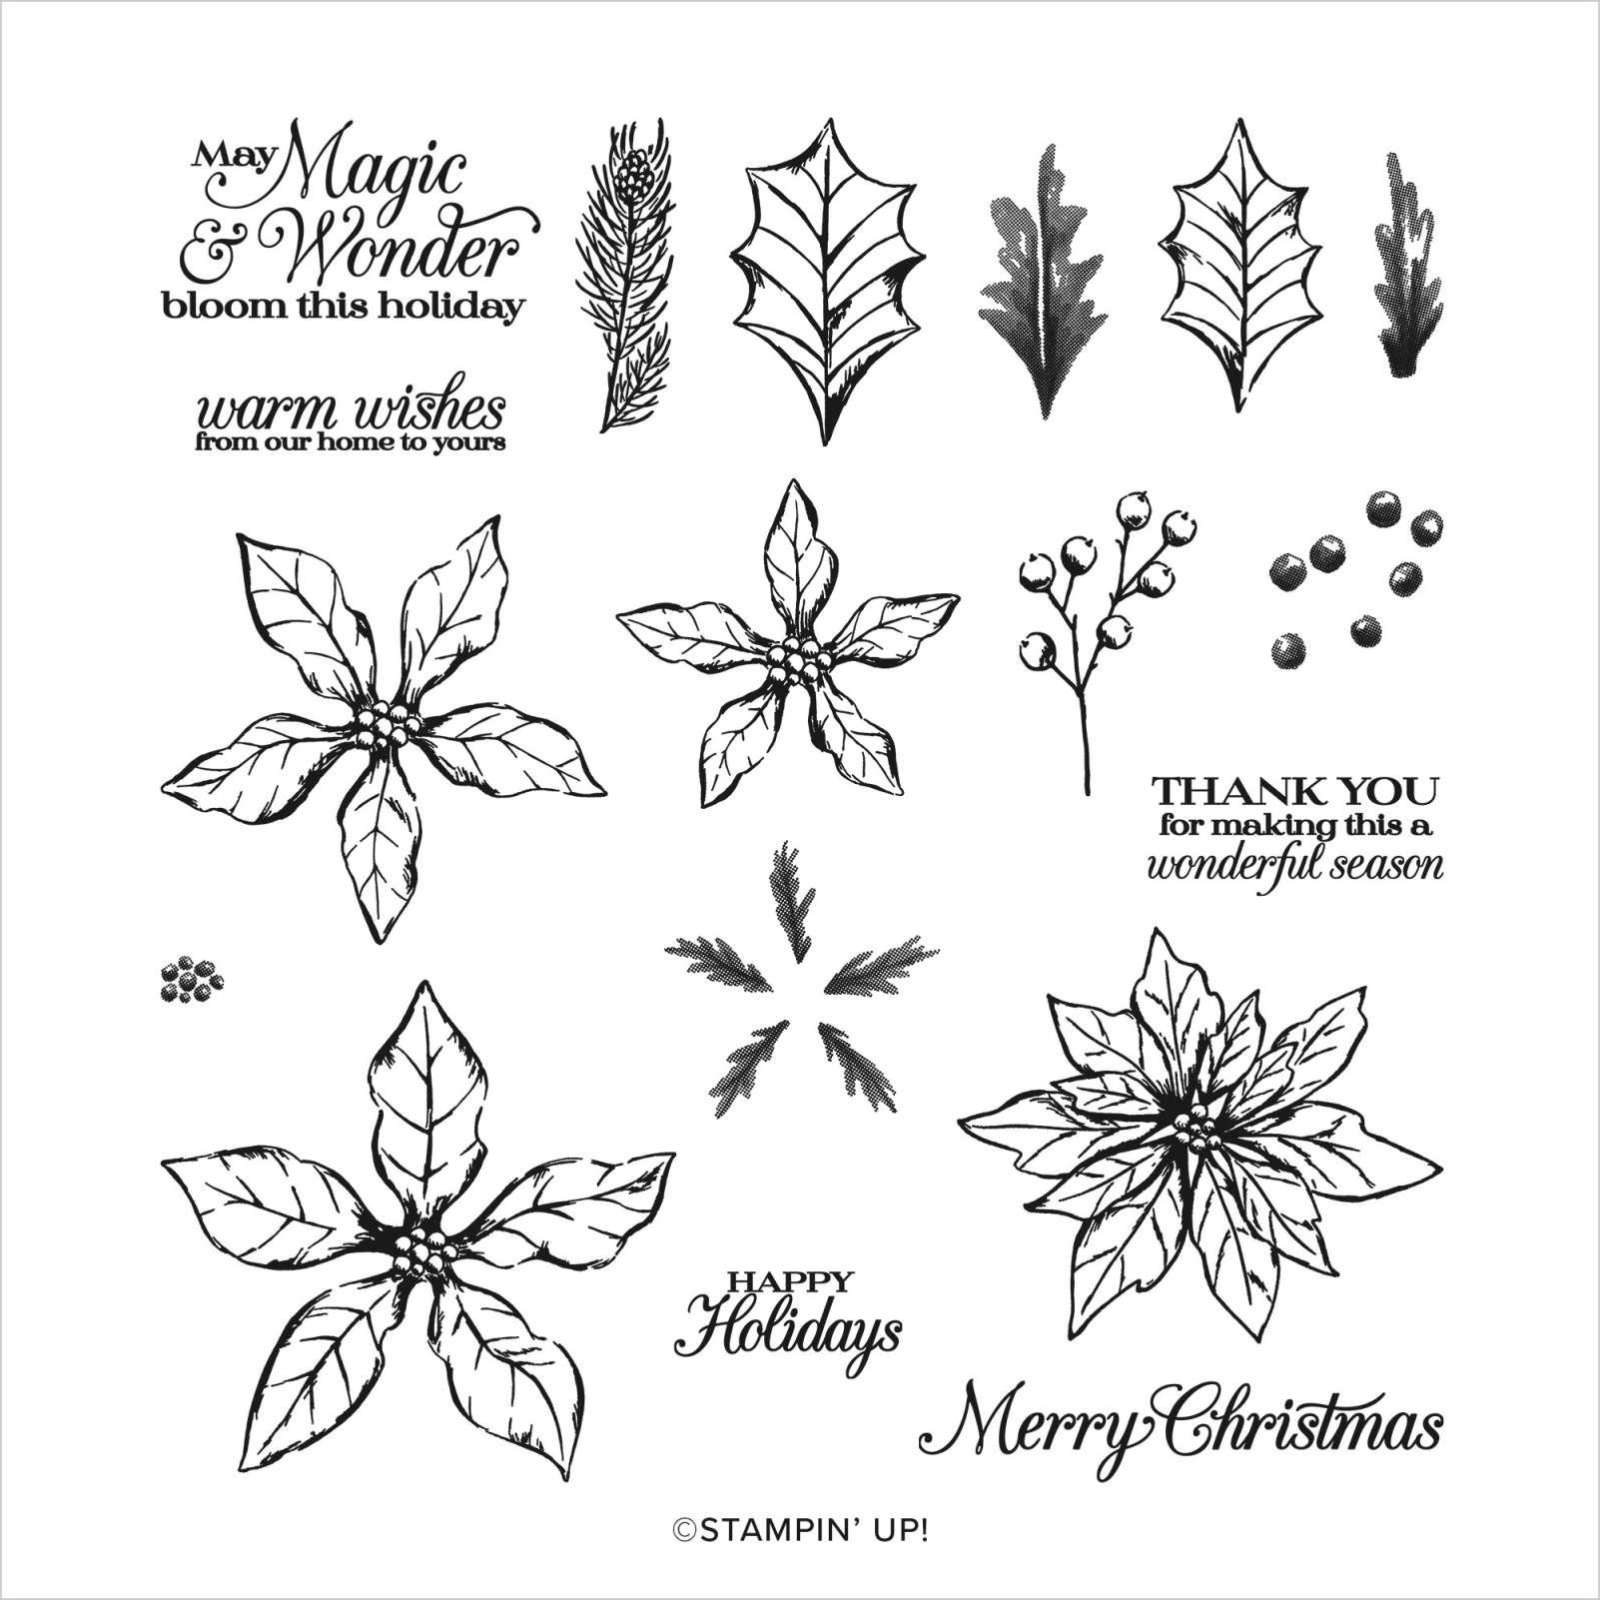
The front of this card is pretty and festive. Santa in his sleigh with his reindeer at the ready. A great font on the sentiment stamp from the Poinsettia Petal stamp set, and this card is ready to send. But wait, there is more! When you open the card . . .

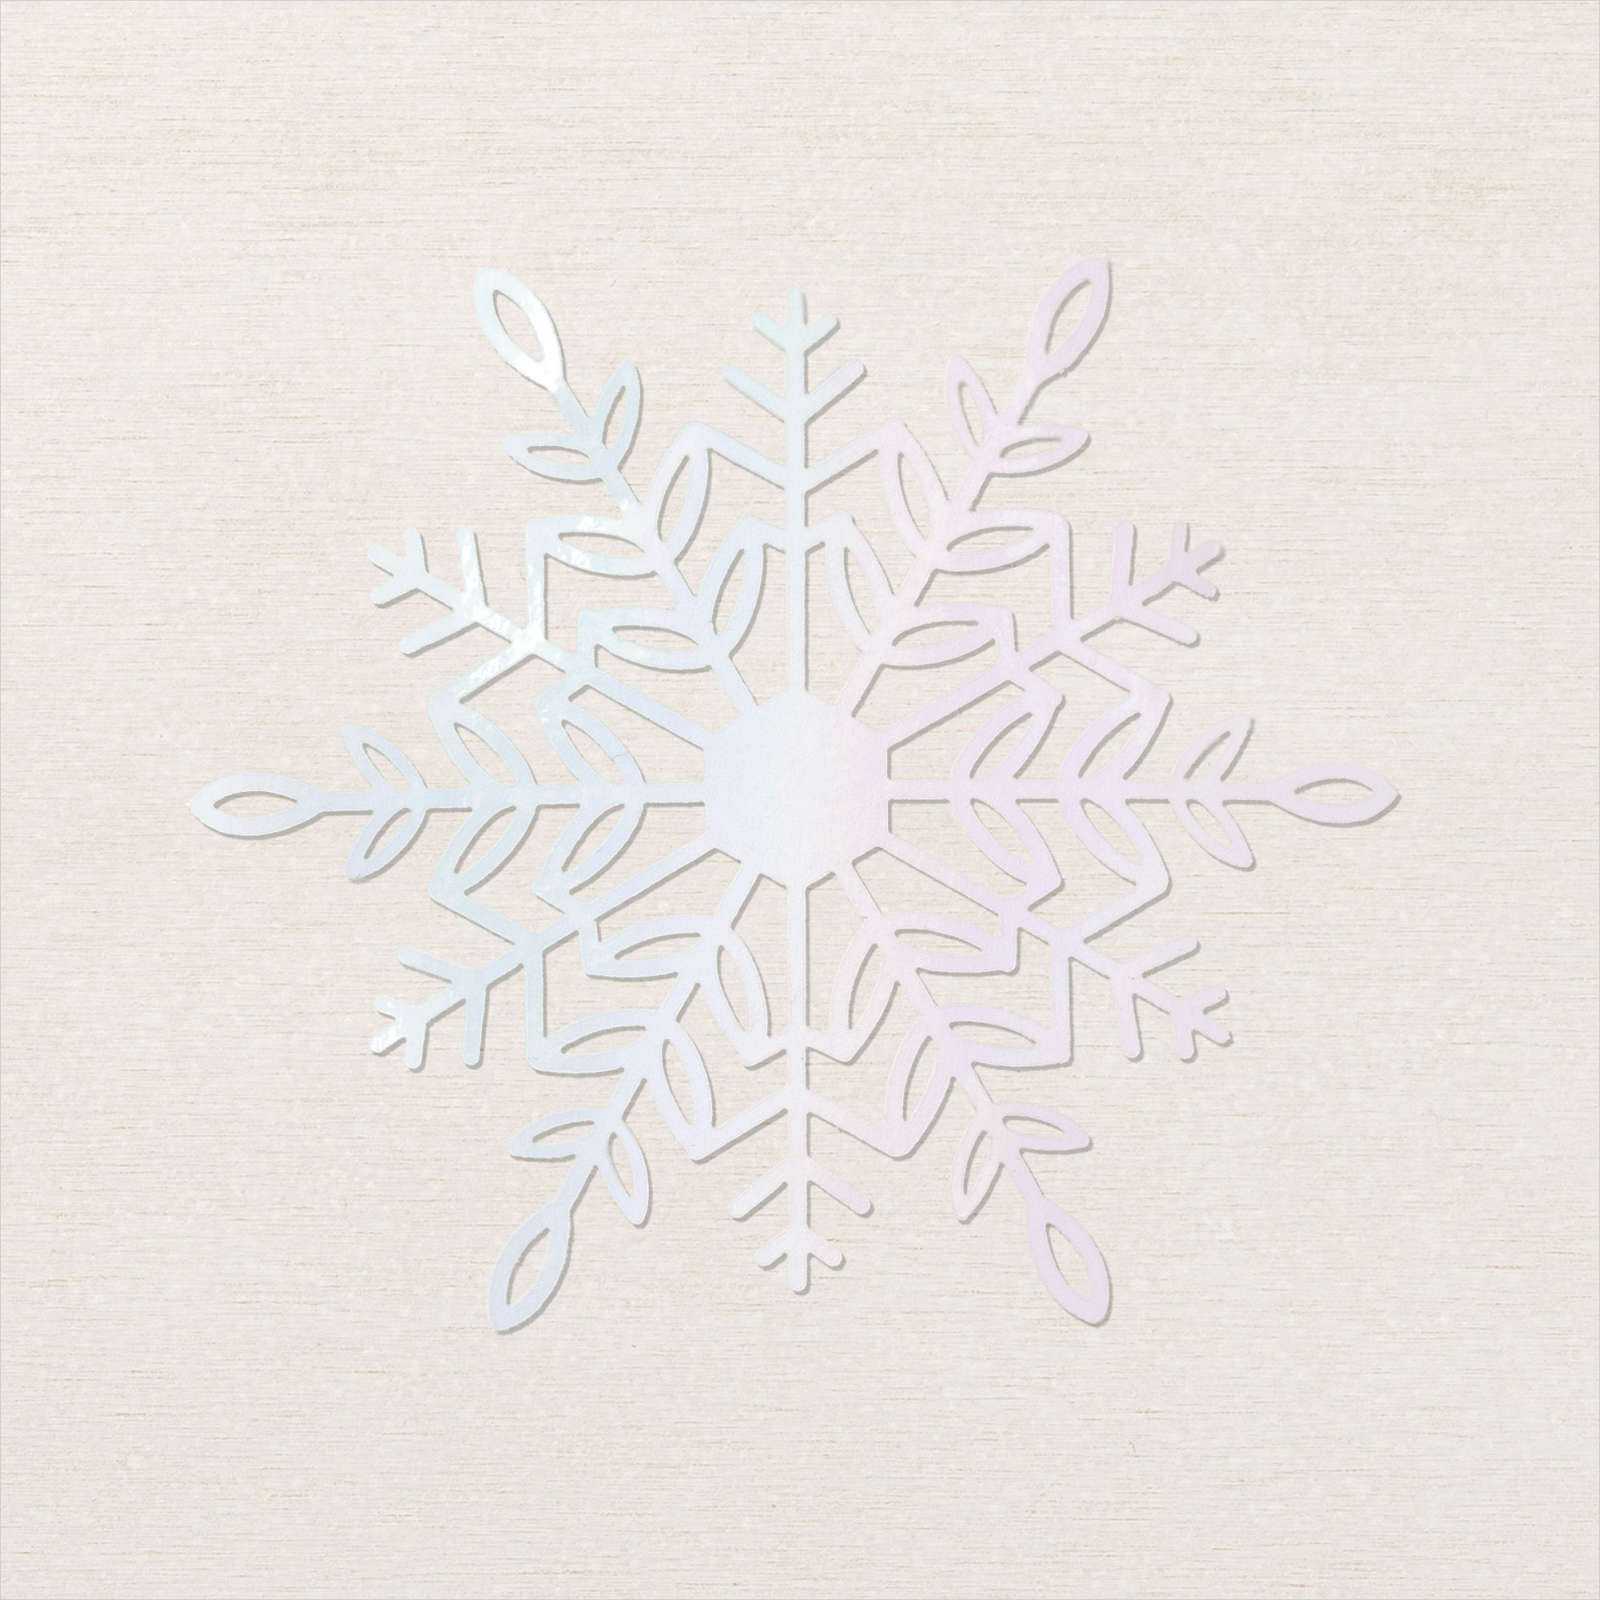
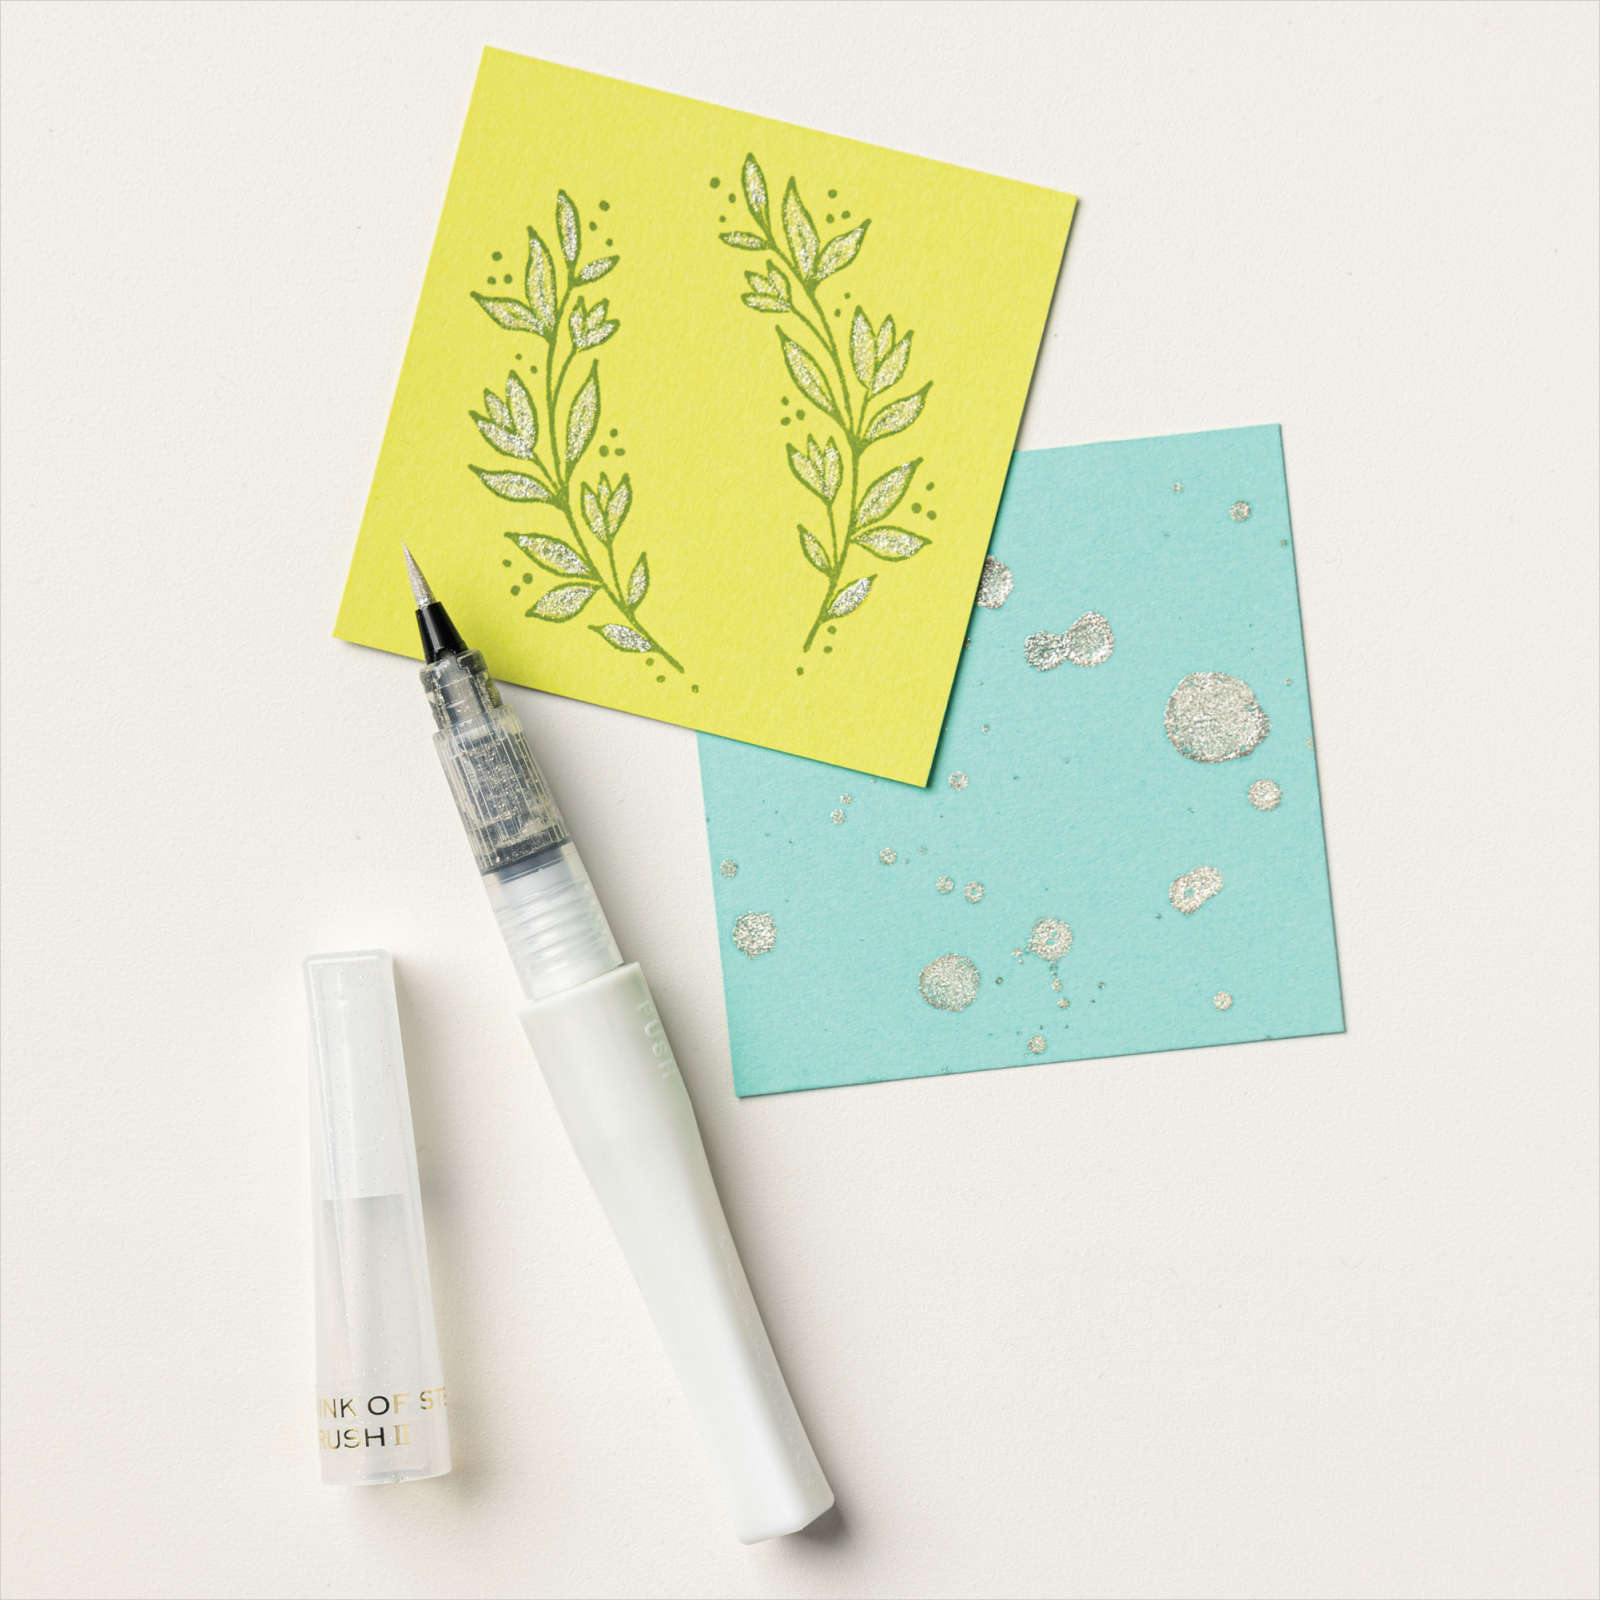
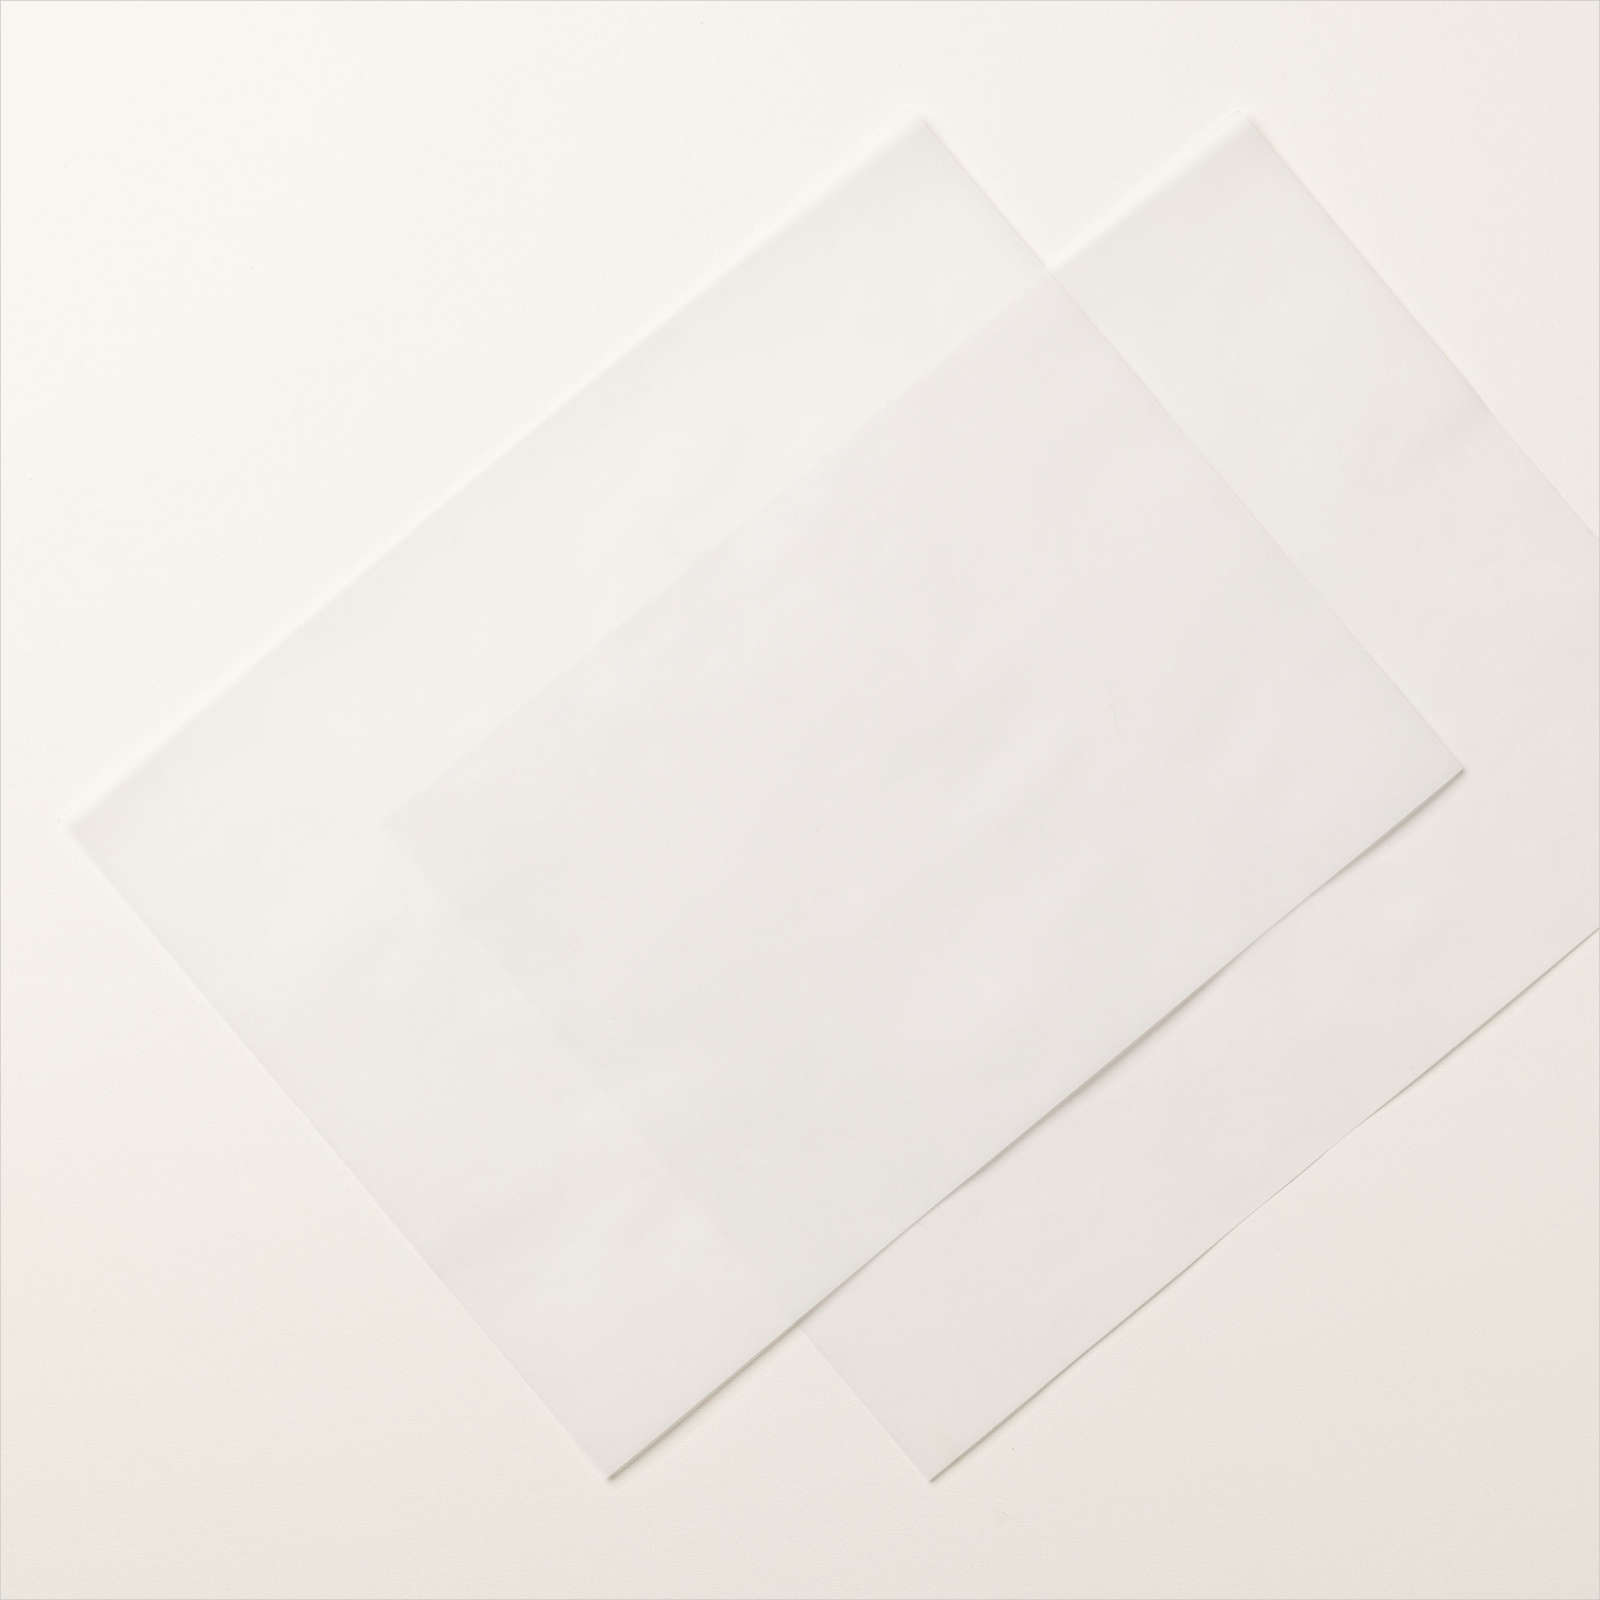
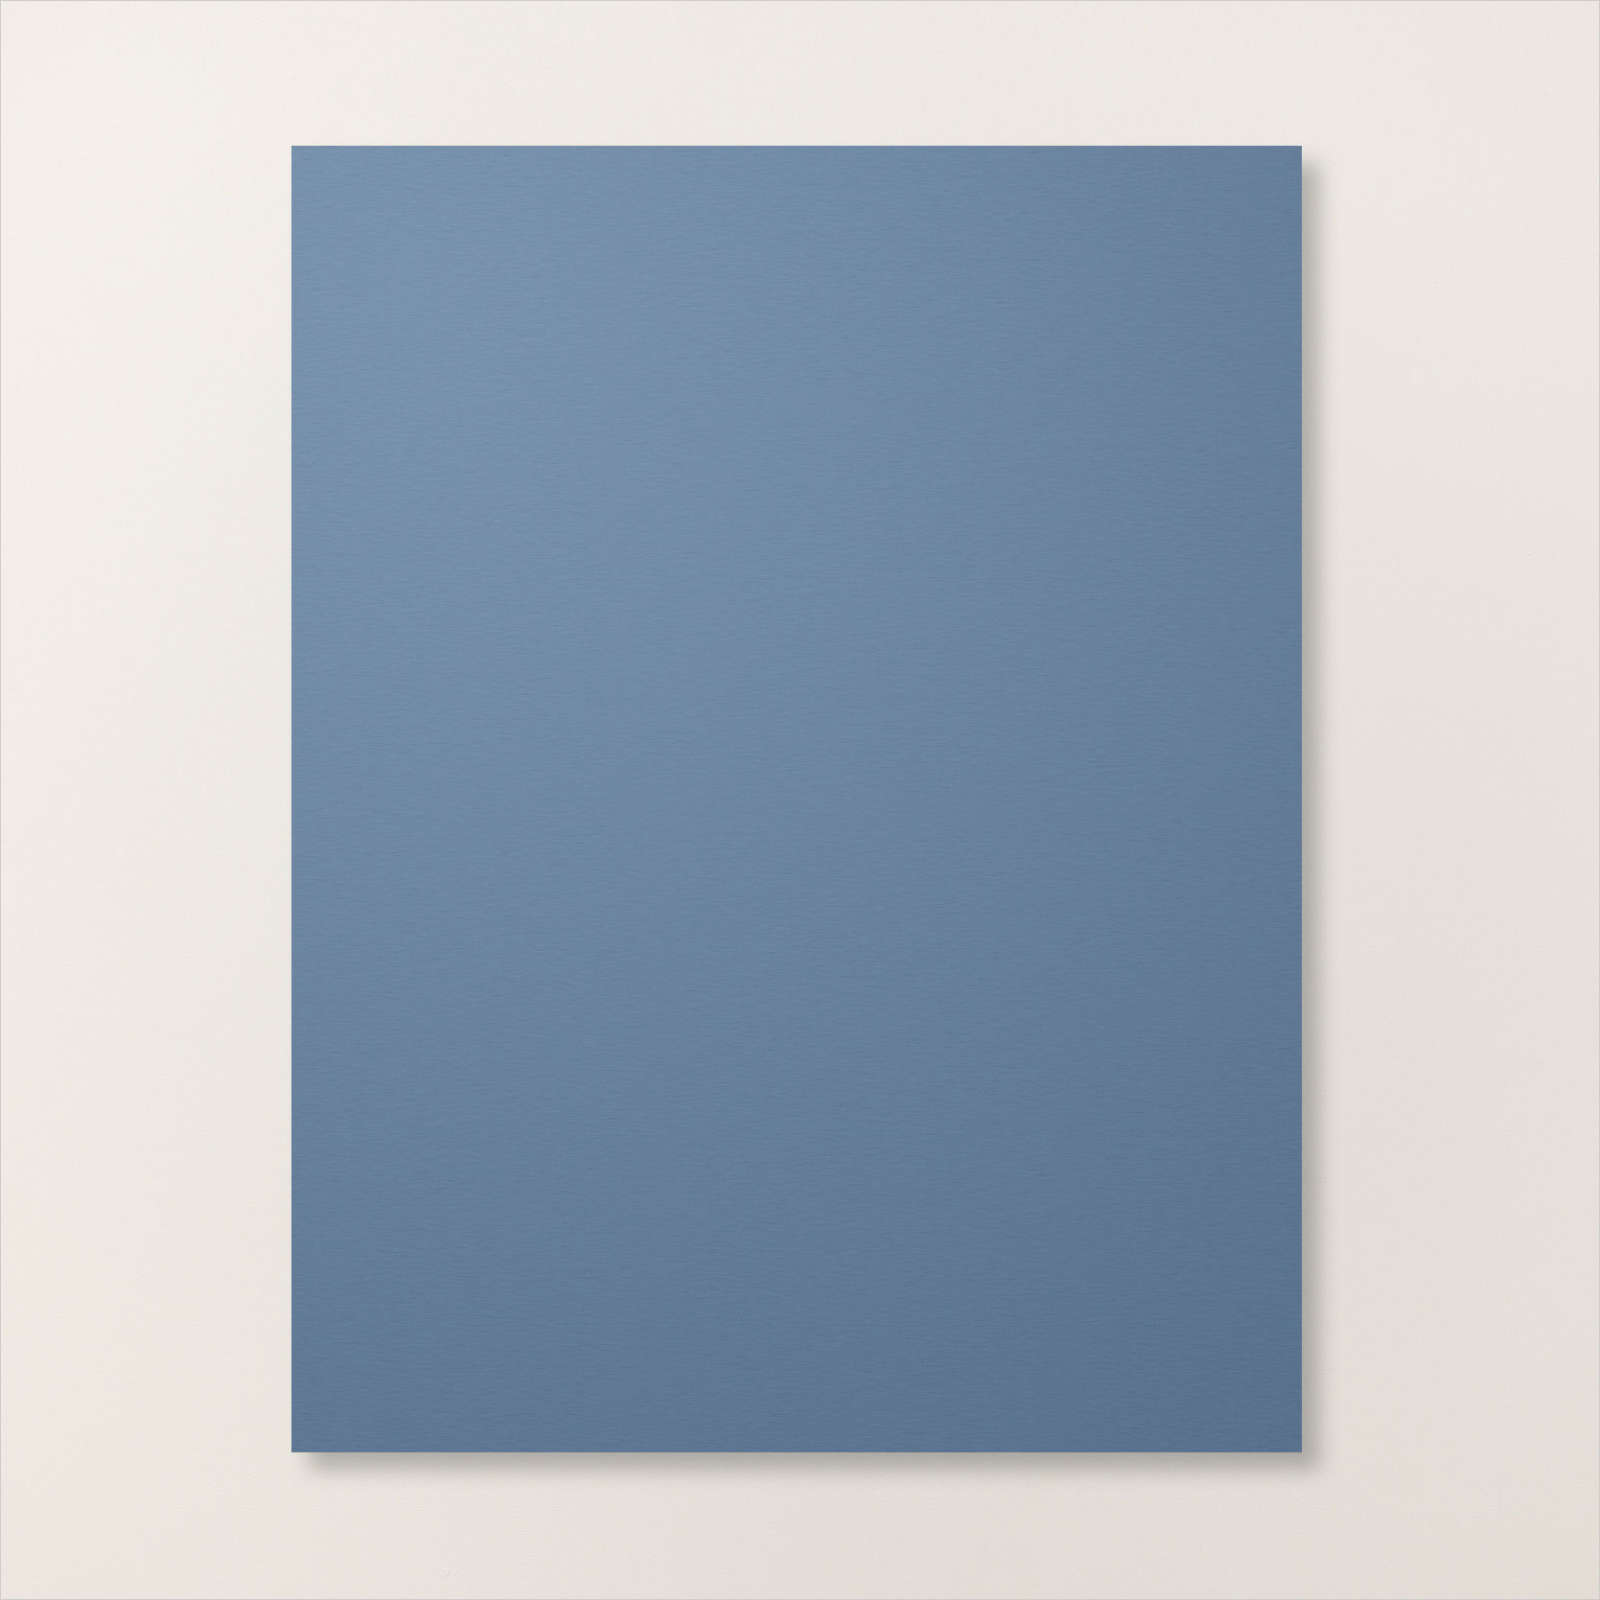
Well, That’s Fancy! This card has a section that bends forward with cut outs that are lined with Vellum cardstock. I cut windows in the Misty Moonlight cardstock using the Giving Gifts Dies. The same die was used to cut snowflakes in one of the Basic White panels, and the snowflakes were painted with Wink of Stella for some frosty shimmer.
The real WOW comes when you put a tea light inside the gap of this card to shine through the Vellum.

I got a card made in this design many years ago and have wanted to recreate it, but had not done so until this card. After I made this card I thought the design would be perfect for my very first That’s Fancy Event that I host on Facebook.
Here is the version of the card I made at the event.

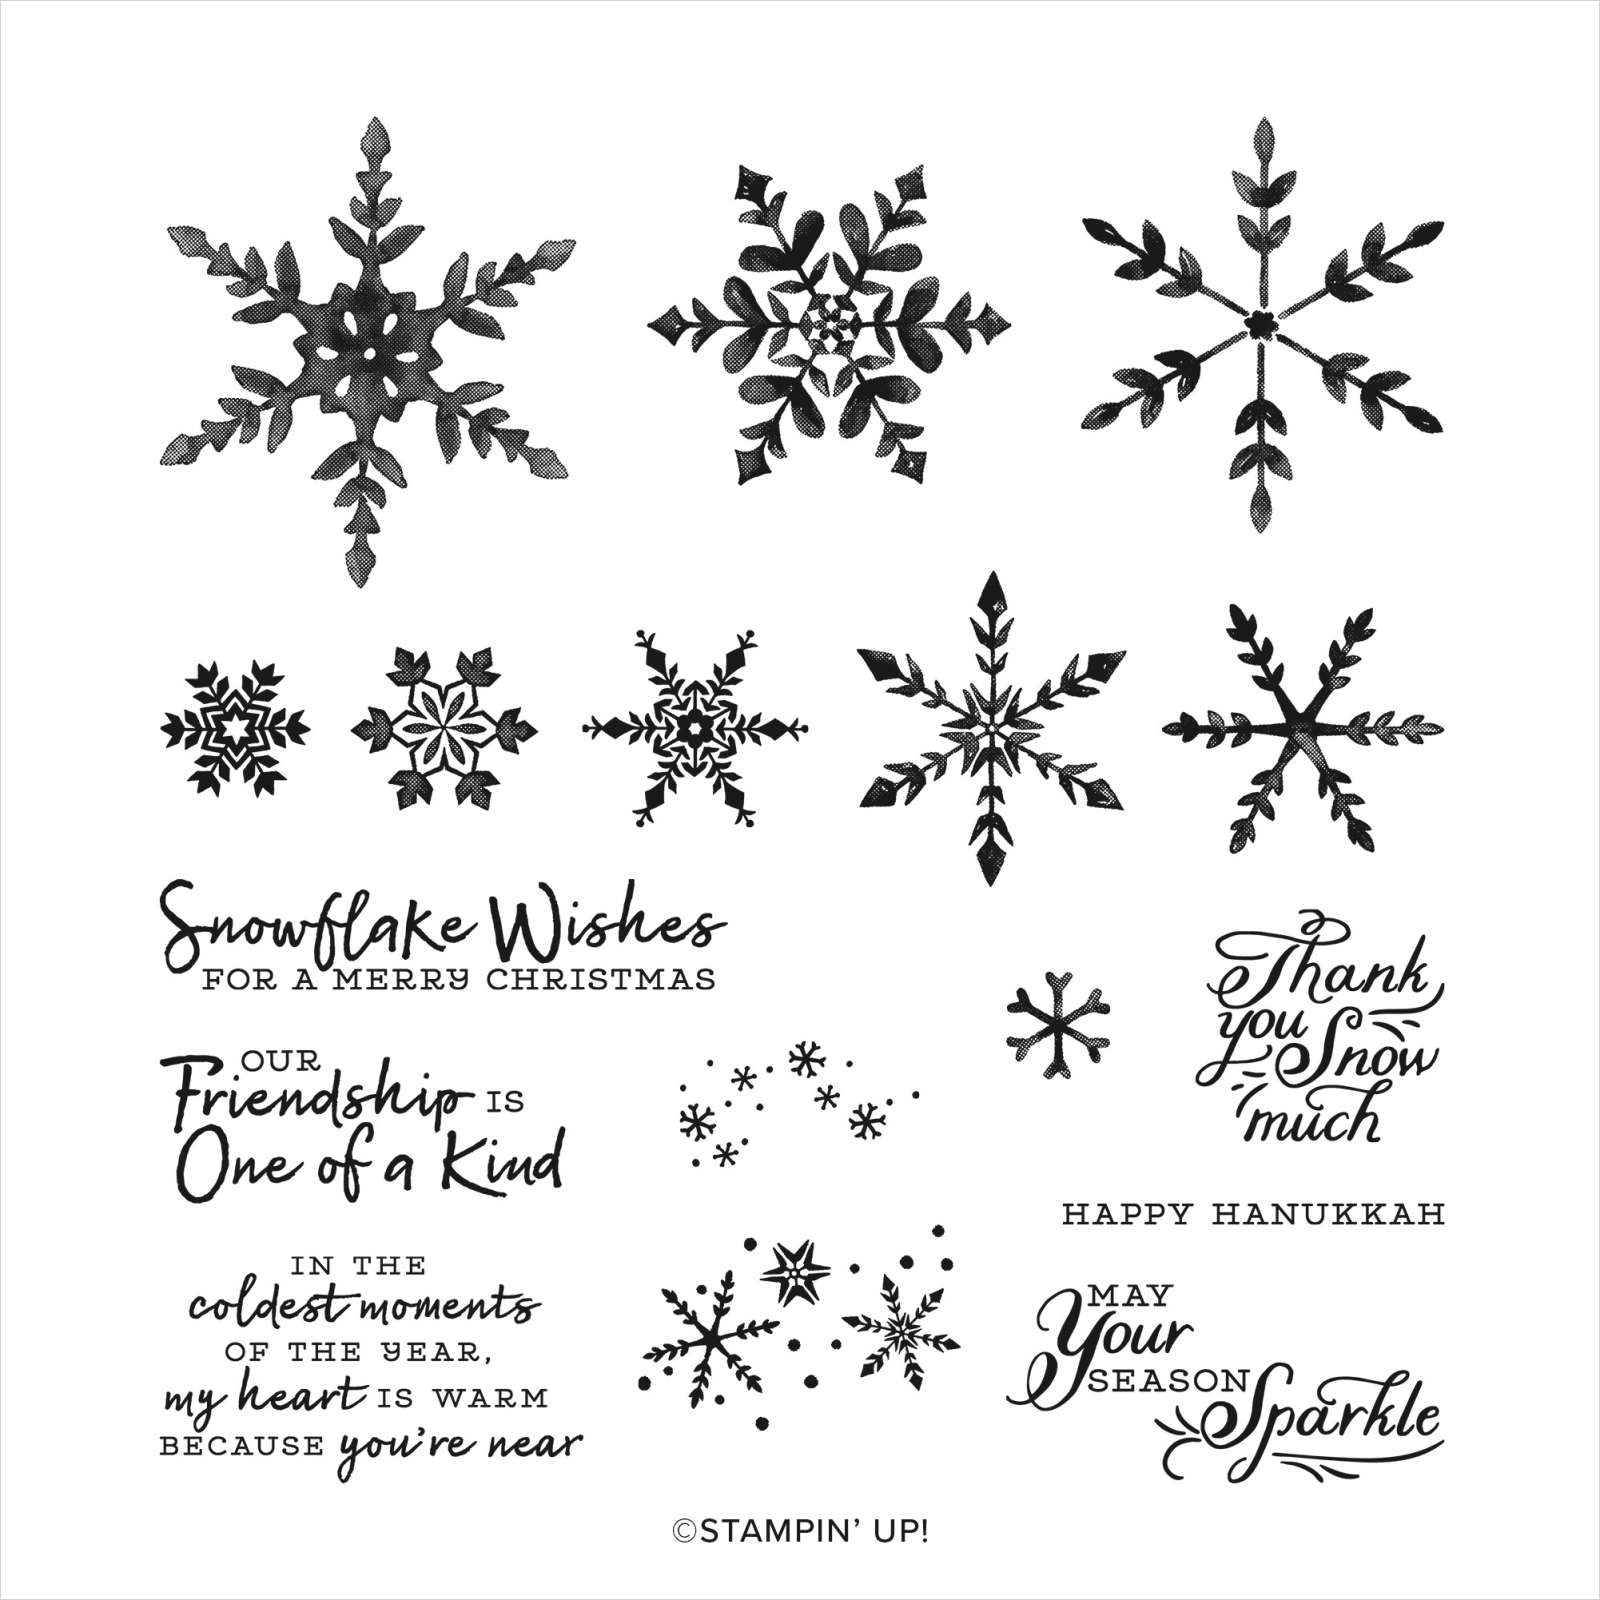
I used the So Many Snowflakes Dies and Snowflake Wishes stamp set for this card. I used the large snowflake die to make the cut outs on this inside of the card.

If you would like to make this card, here are the measurements I used, all in inches.
Card Base - 11 x 4 1/4, scored at 5 1/2
Inside Layer - 11 x 4 1/4, scored at 2 1/2, 5 1/2, 8 1/2
Vellum Cardstock - 4 x 2 7/8 (cut 2)
Basic White Cardstock - 4 1/4 x 3 (cut 2)
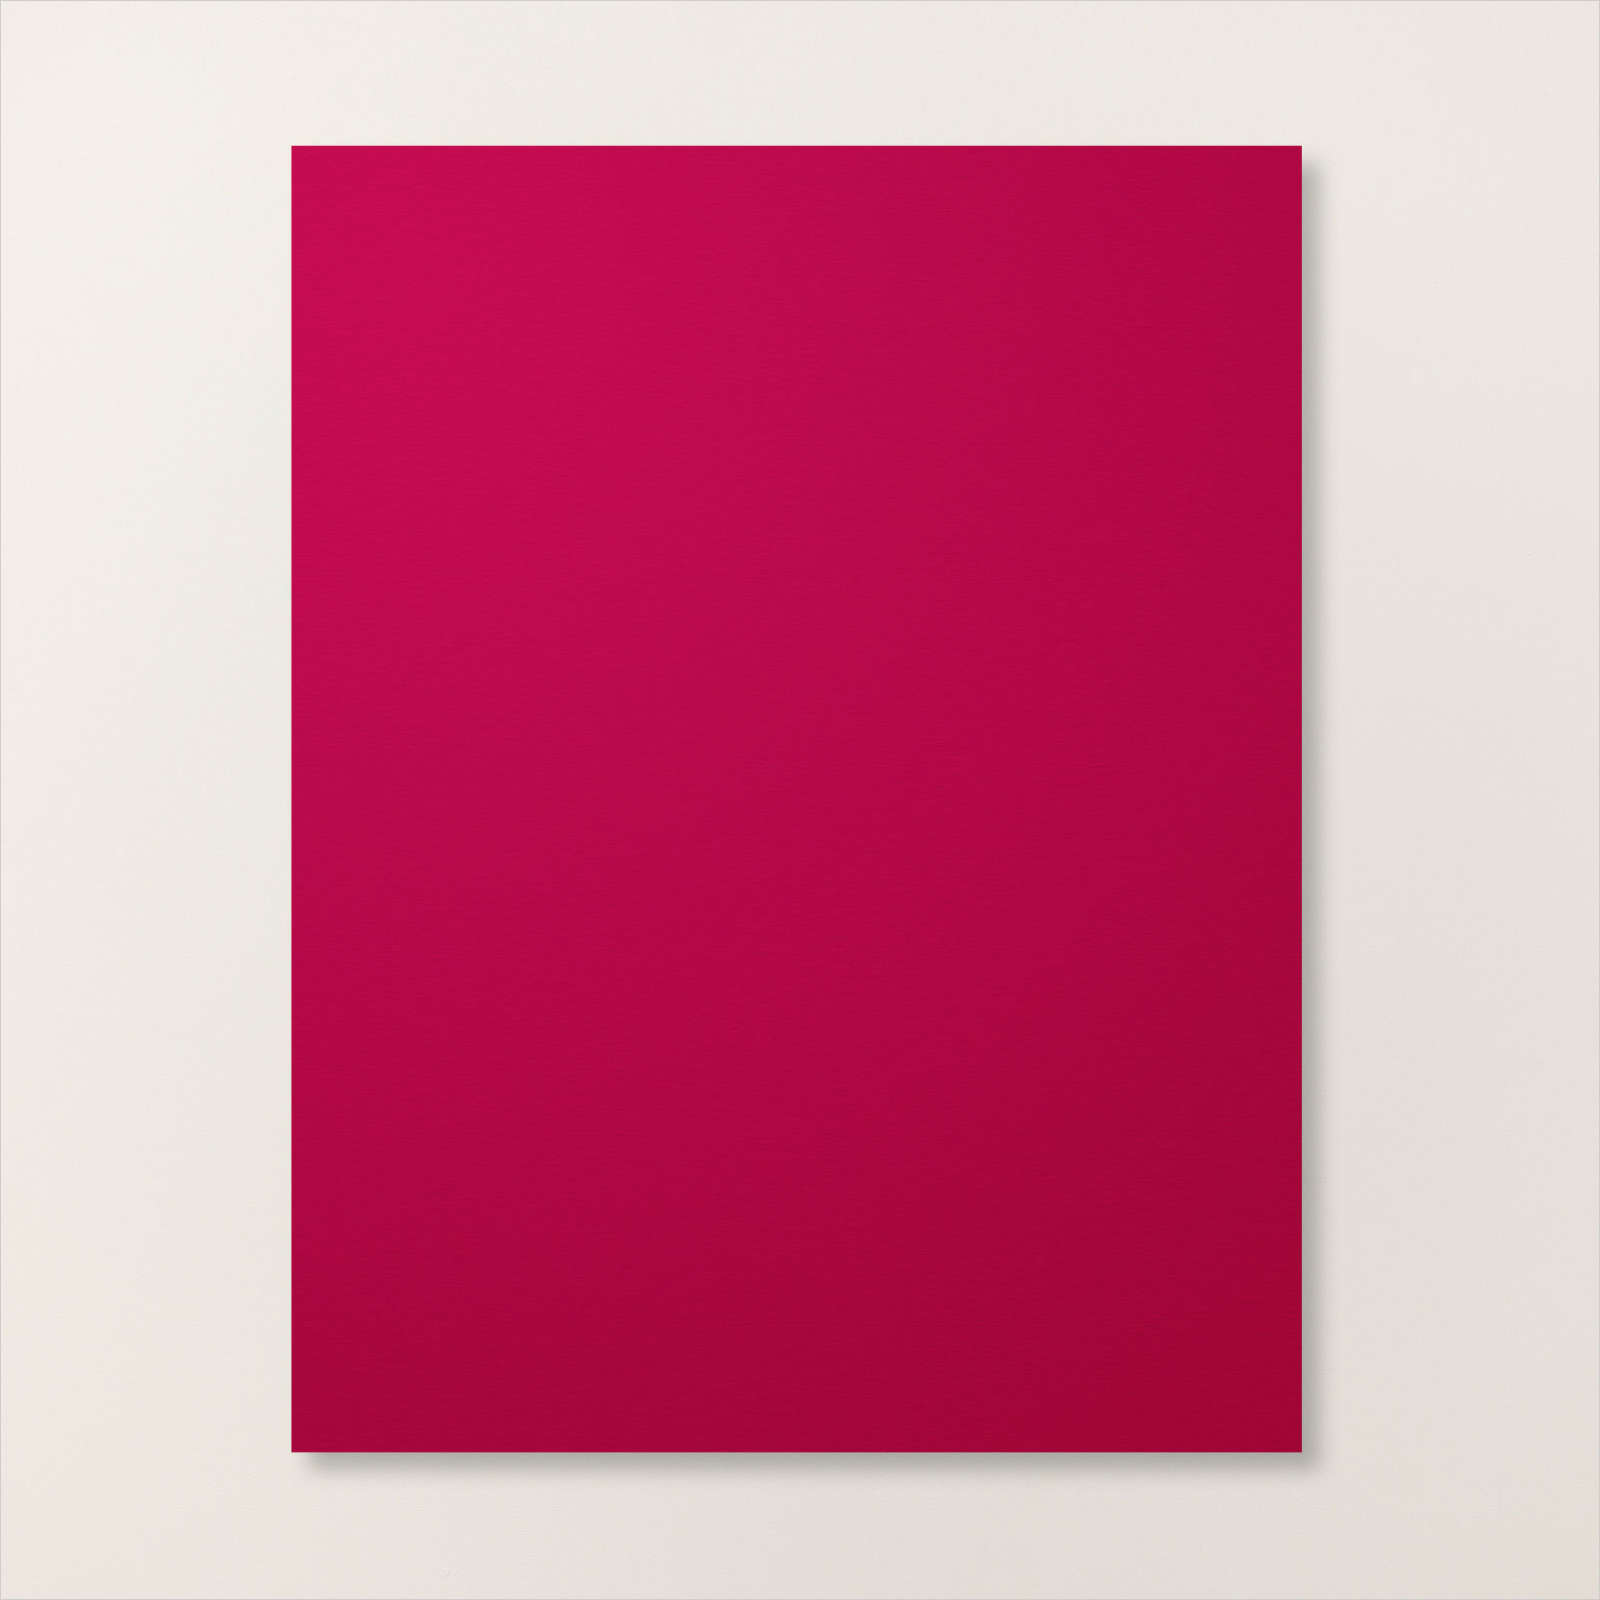
Basic White and Coordinating Coloured Cardstock for sentiment and frame
Dies of your choice
Cardstock for decorations
Embellishments
If you want to see how I made this card, and see some of my mistakes! you can watch the video.
And here are the products I used, although you can substitute with what you have. If you would like any of the products I used, just click on any of the images below and you will go to my online store where you can order anything you need (and others things you just want!!).