Keep It Simple, or Step It Up
Are you just starting your stamping and paper crafting journey? You don’t need a lot of supplies to get started, and you can make pretty cards to share with family and friends.
This card uses just one colour of cardstock, plus Basic White, and one colour of ink. Let me introduce one of the new In Colours, Fresh Freesia. It is a pretty soft lilac colour, perfect for my hydrangea stamp from the Hydrangea Haven stamp set.
The stamp set also includes the sentiment on this card, and the smaller ‘fill in’ piece I used to add ink to the inside of my hydrangea. Any time you want to make a pretty card with just a few supplies, this is a great layout, and can be done with any stamp set and colour you have.
T IP- when you are using a solid stamp to fill in, it is a good idea to ‘stamp off’ before you fill in your image. To stamp off, simply ink your stamp - tap, tap, tap, then stamp lightly on scrap paper before stamping on your image. This way the colour is not too intense. It is also a great way to get two different shades of colour with just one ink pad.
Perhaps you have been crafting a little bit, and have a small stash of products. This second card uses the same items from the first card, but adds a second stamp set and ink colour, Garden Green in this case, some In Colour Designer Series Paper, and some Silver Metallic Pearls.
The stamp set I used for the sentiment on this card is Through It Together. It is a new stamp set filled with encouraging sentiments that are perfect for any occasion. I stamped off the Fresh Freesia and Garden Green before I added the inside colour to the flower and leaves.
TIP - to stamp your hydrangea image with two colours of ink, hold the stamp in one hand, the ink pad in the other and tap Fresh Freesia on the top, flower part, and Garden Green on the stem and leaves. By holding both in your hand, it is easy to see where the edge of the ink pad is to get perfect separation of the colours. Always ink with your lightest colour first to avoid colour transfer on you ink pads if you happen to go over the edges.
The third card is for those crafters that more tools, and used the Stampin’ Cut & Emboss machine, as well as Stampin’ Blends to colour the flower and leaves.
I love the versatility the Stampin’ Cut & Emboss machine adds to your crafting. I used the Hydrangea Dies to cut out my flower image as well as the smaller pieces of the flower for this card, and also embossed the background piece with the Ornate Floral 3D Embossing Folder for lots of great texture. I coloured them with the Fresh Freesia and Soft Succulent Stampin’ Blends. The sentiment on this card is also from the Through It Together stamp set, again a great message of encouragement, perhaps for someone starting university, or a first job. I finished the card with some Silver Metallic Pearls and a bow made with the new Open Weave Ribbon in Soft Succulent.
TIP - Using the light and dark Stampin’ Blends, along with the Colour Lifter gives you lots of great natural shading to your colouring.
Whether you want a quick card, one with a few more products and variations, or want to really step it up, you can create pretty cards for all your special occasions and events.
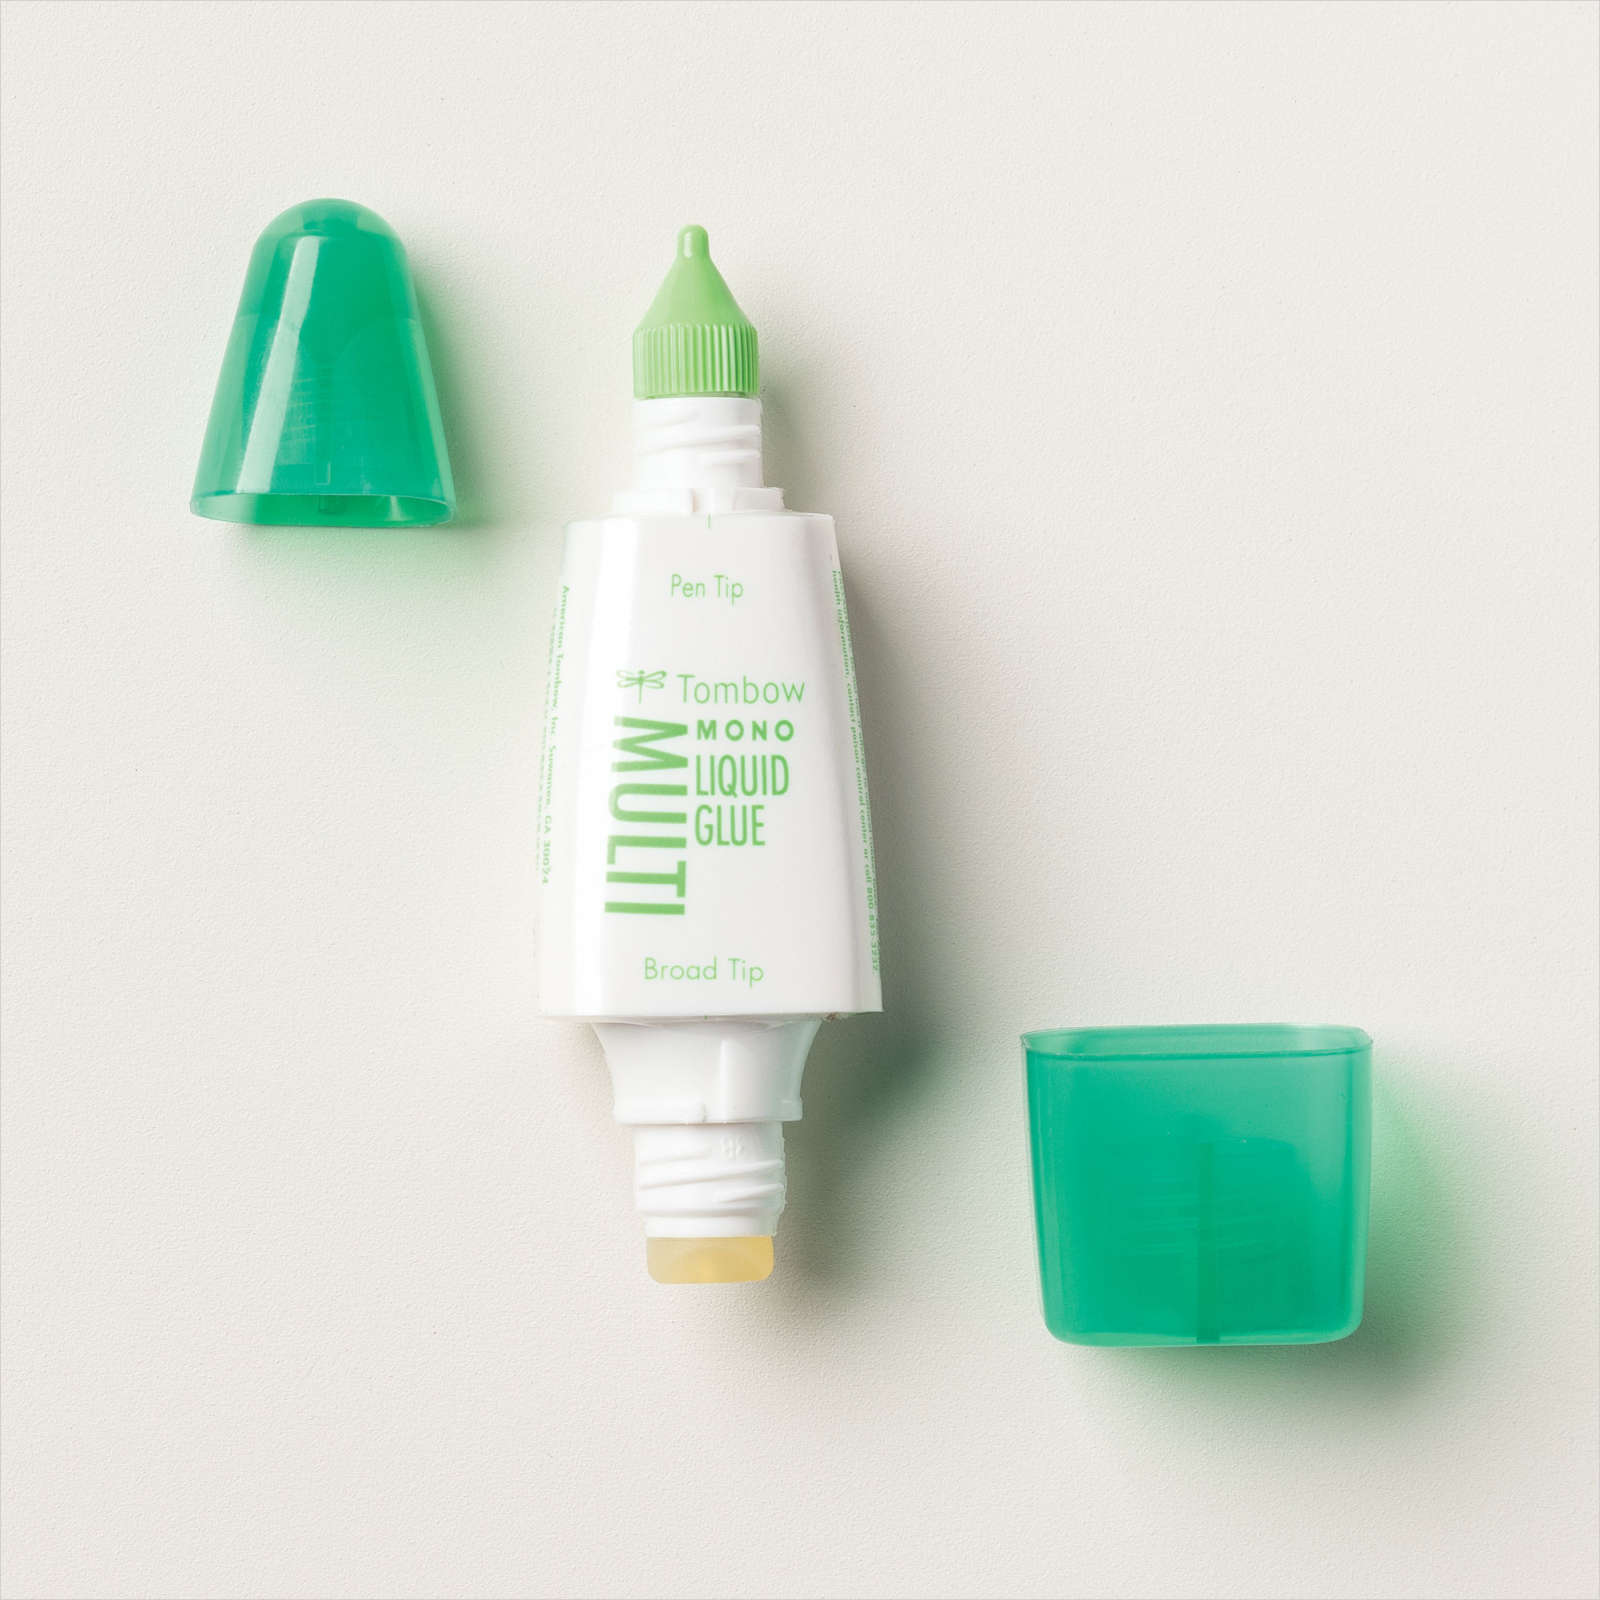
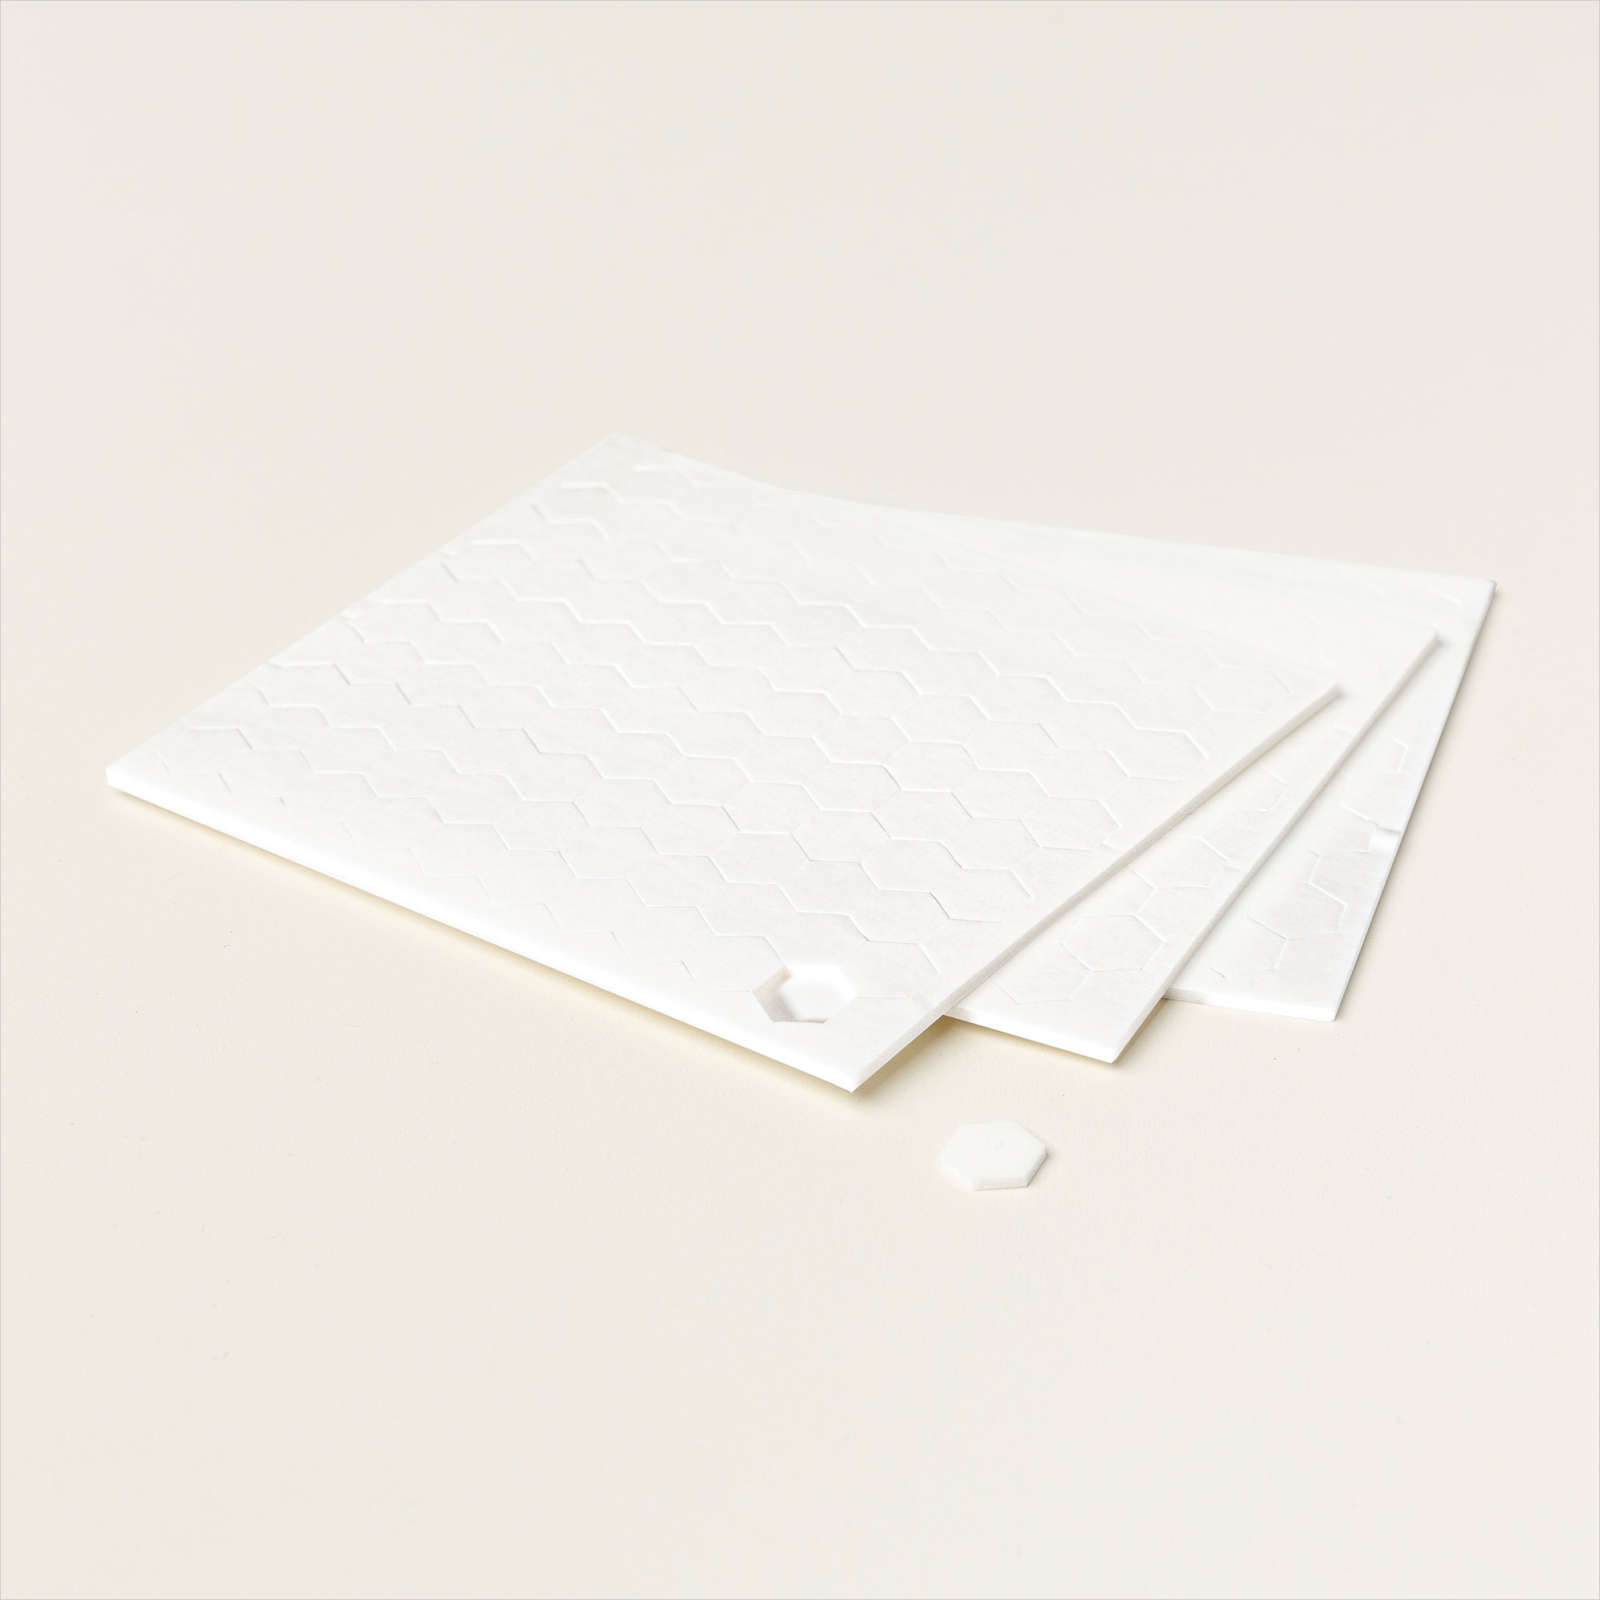
Get started with just these products.


