3D Gilded Autumn
I am loving the Gilded Autumn Specialty Designer Series Paper, and have posted a couple of cards using some of it, but today I have a fun 3D project that shows off this pretty paper.
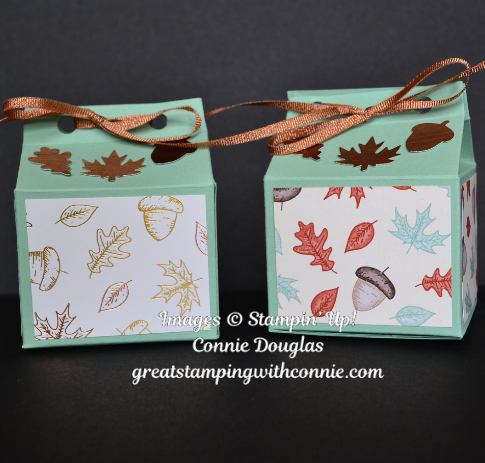
I CASED a milk carton tutorial that Sam Hammond Donald did recently, but changed mine to a fall theme. These cartons are a great size (2 1/2 x 2 1/2 x 2) for little gifts, or as decorations for Fall or Thanksgiving.
To make them, start with a piece of cardstock that is 10 1/2 x 6 1/4.
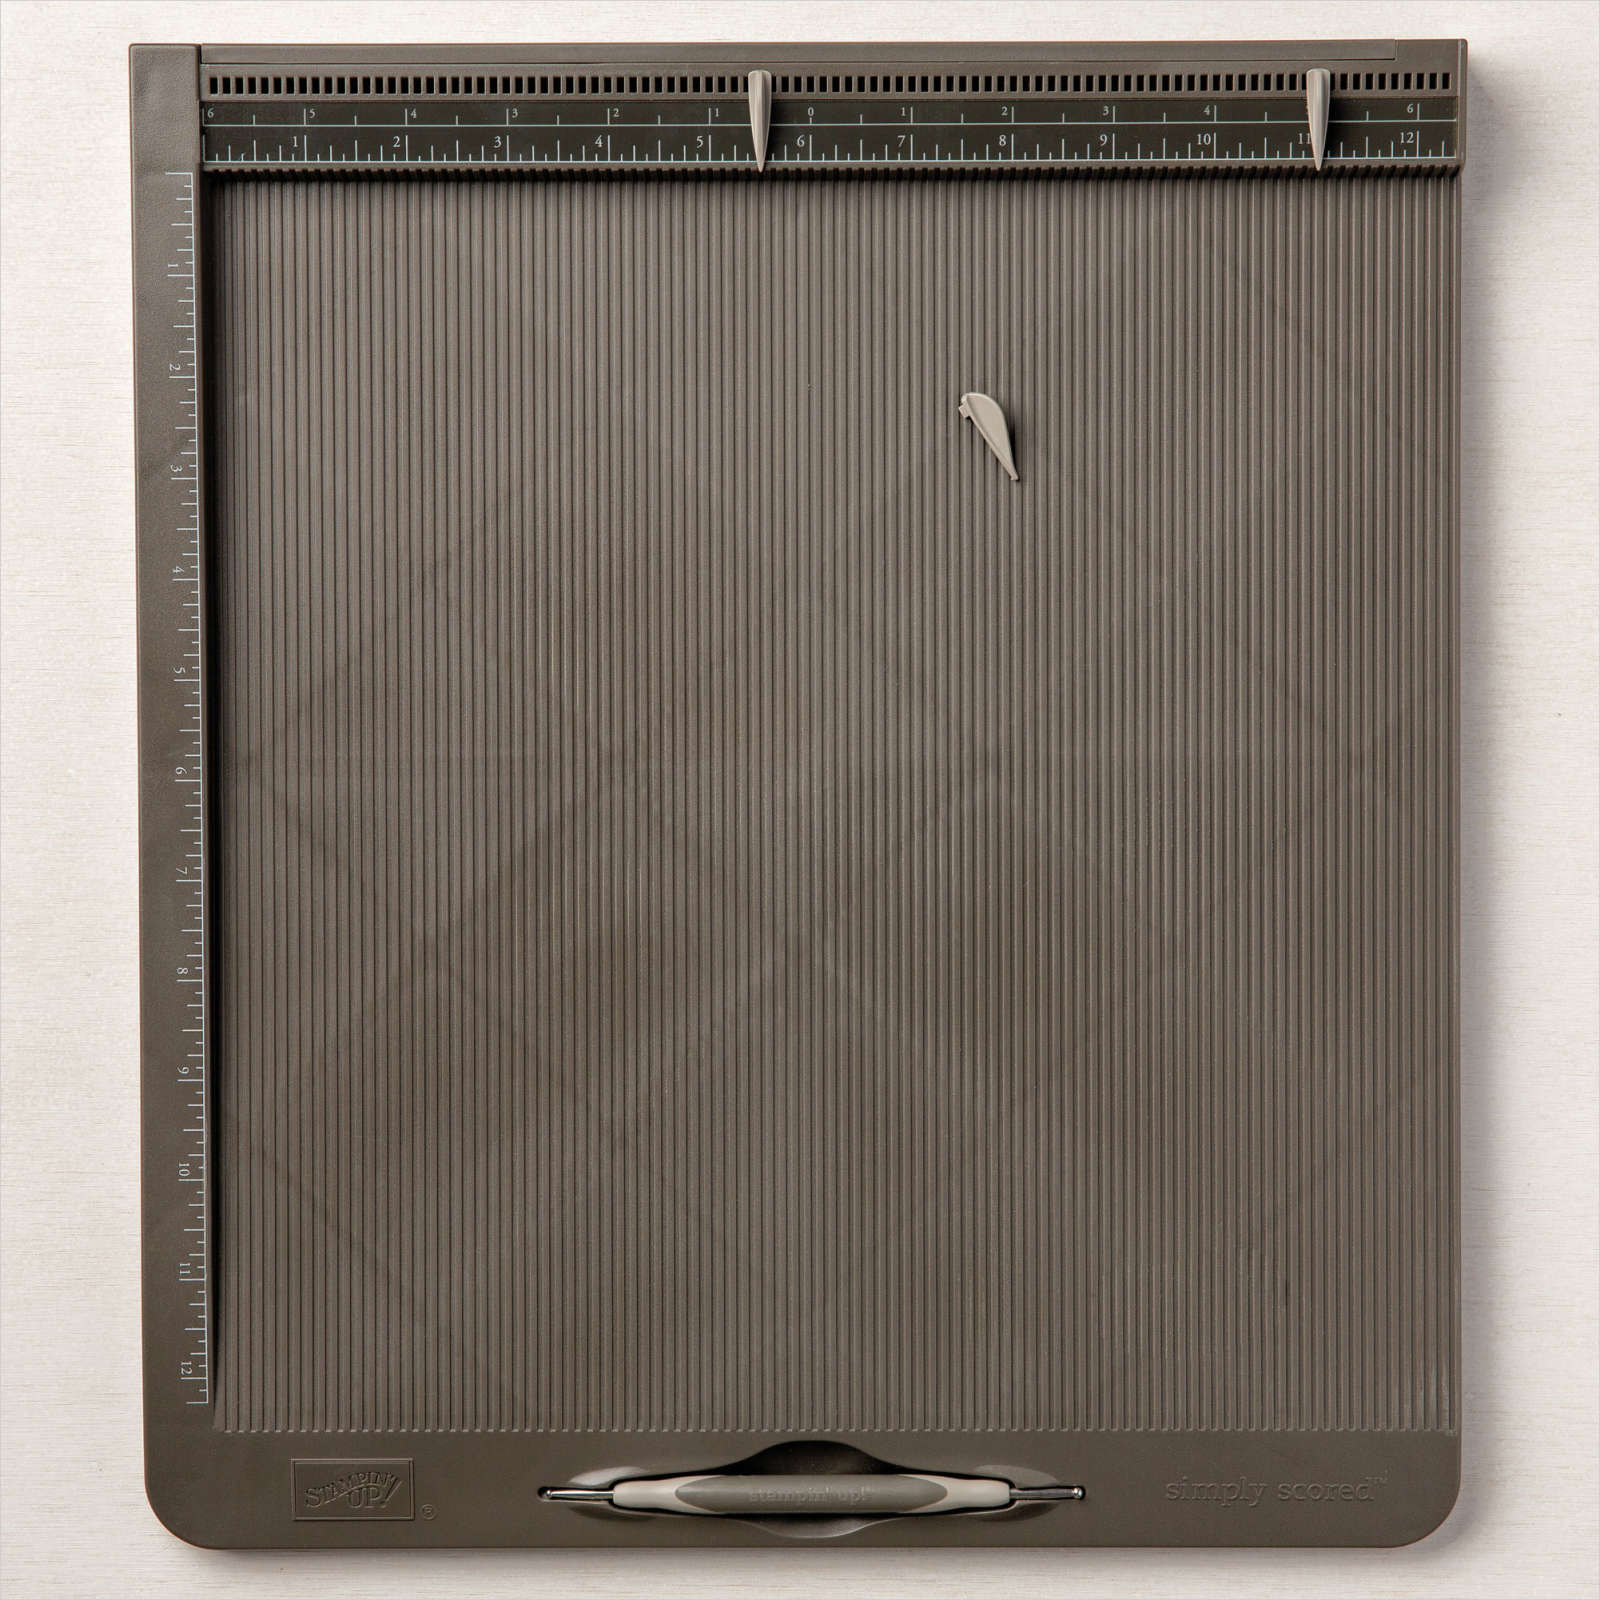
On the long side, score at 2 1/2, 5, 7 1/2, and 10
On the short side, score at 2 1/2, 4 1/2, flip top to bottom (not over) and score at 5 3/4.
Placing your cardstock in the original position on the long side, score to the first line at 1/4, and 6 1/4.
Using a ruler, score from this small score line diagonally to the corner of the second score line creating triangles.

Here is a closer look at the triangle scoring.

Burnish all score lines by folding in on the ‘mountain’ side score line. By flipping your cardstock you will have a ‘mountain’ score on the opposite side from the others, and this will be folded the opposite way.

Cut a small ‘v’ off the top little tab, and cut the narrow bottom piece off. Cut up the score lines on the bottom section to form the bottom of your carton. (See photos above)
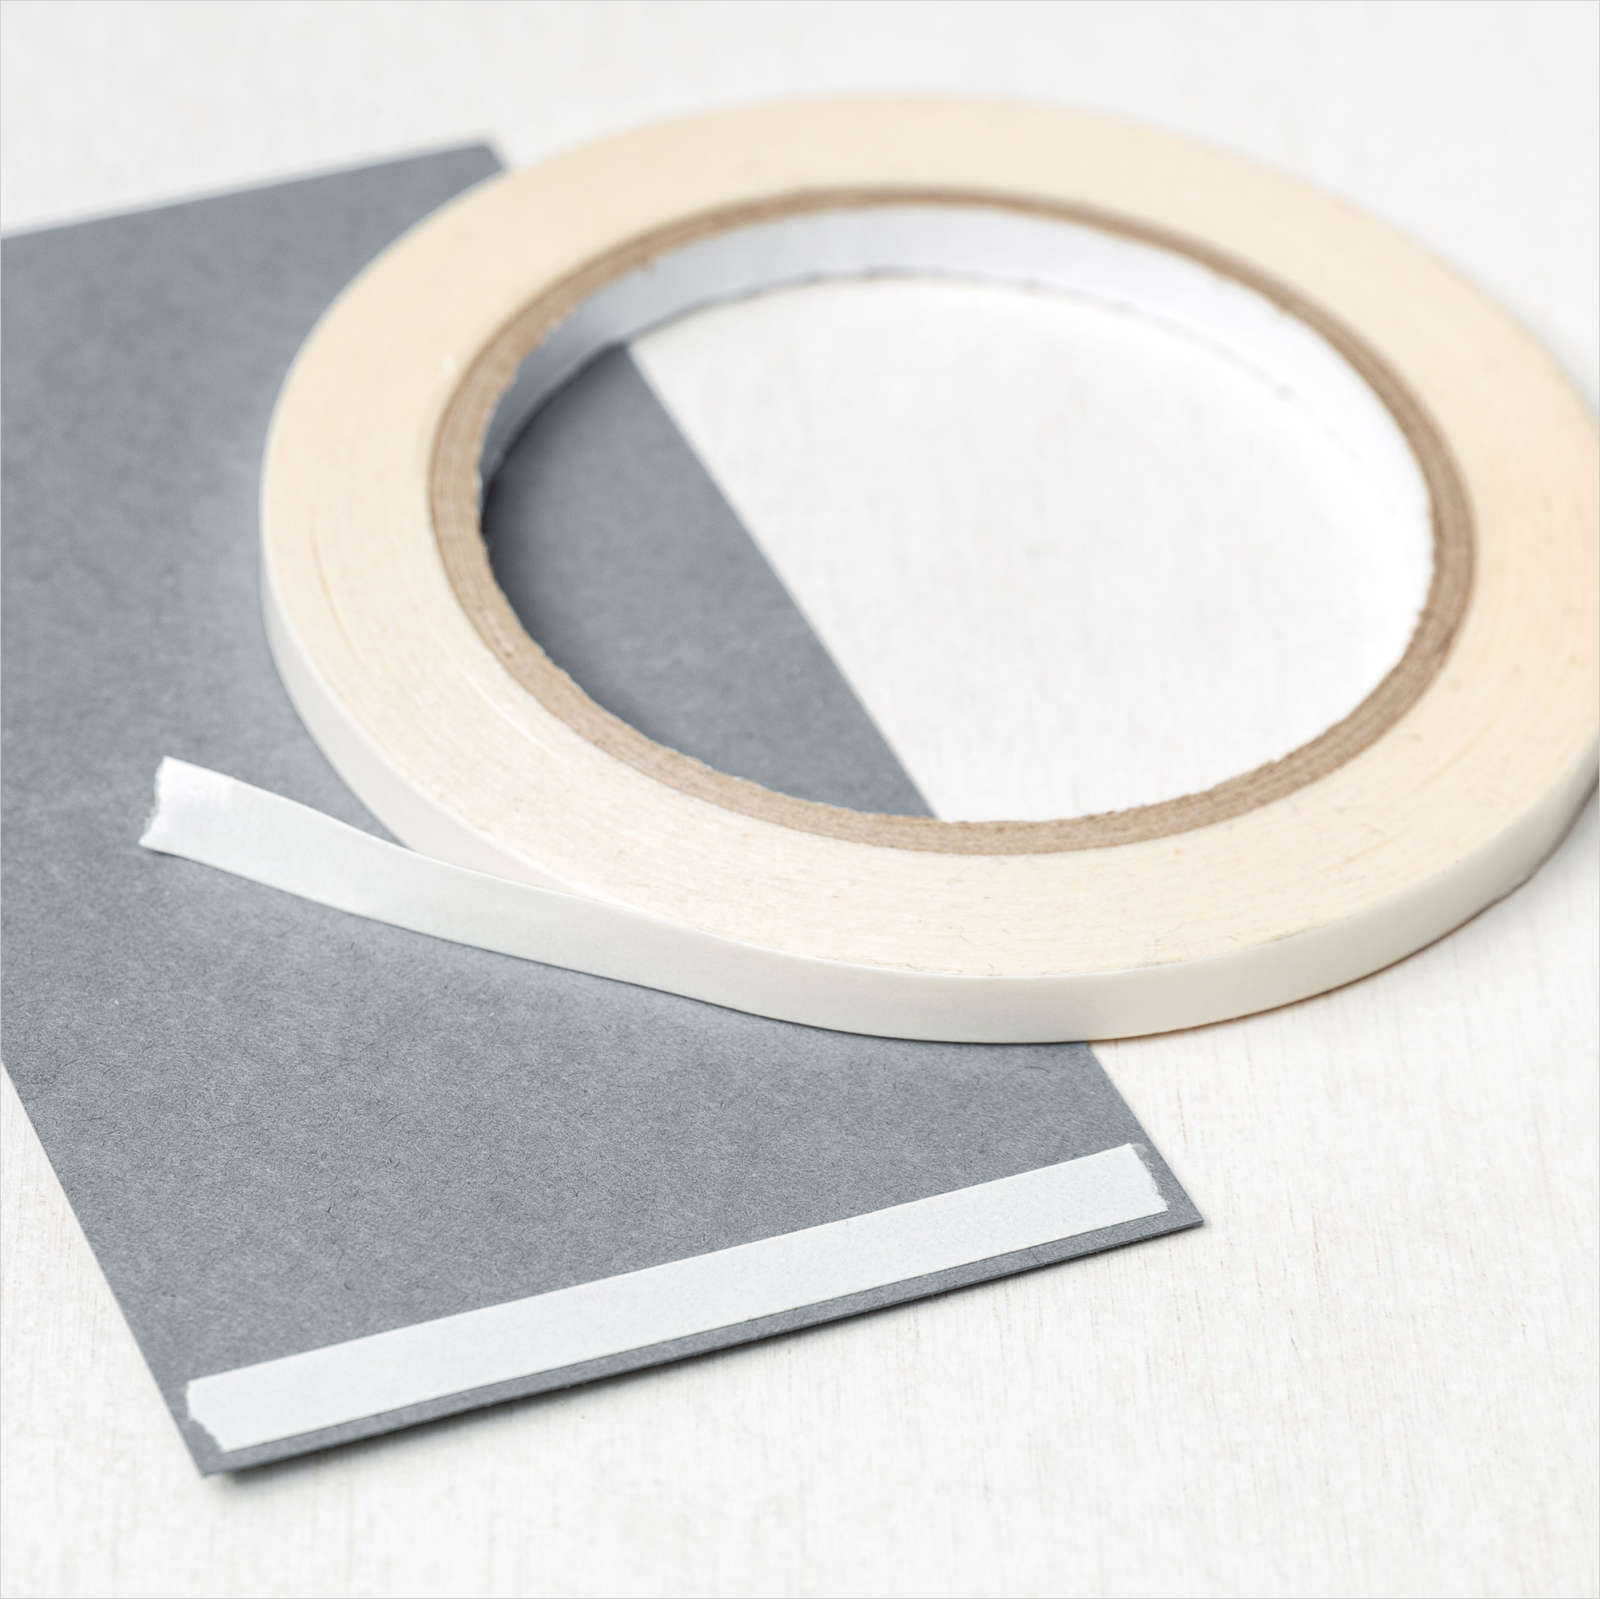
Cut 4 pieces of SDSP - 2 1/4 x 1 3/4 to decorate the sides of the carton. Use Tear & Tape to adhear your carton.
Decorate or embellish as desired.
Pinch the sides at the ‘v’ score to create a carton top. Pinch the top flaps together and punch holes. Tie with ribbon.