Peaceful Nativity - Sponging
I love the effect of sponging a background. It gives subtle shading with highlights and lowlights. I used sponging to create the background for this card.
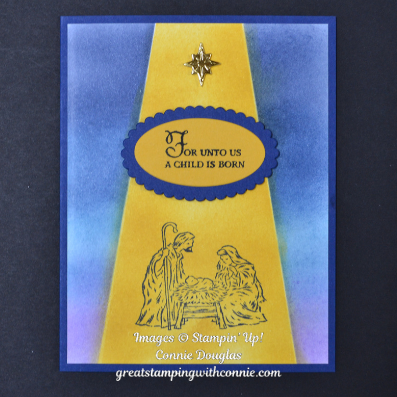
I started by masking the centre of my card, and sponged with Highland Heather, Balmy Blue, Misty Moonlight and Night of Navy ink to create my night sky.

TIP: When you are sponging, start off your cardstock (on my centre mask here), and work in a circular motion as you move onto your cardstock. It is also a good idea to start with a piece of cardstock a little larger than you want your final piece. You can see how the edge of my cardstock has a darker line, which is fine if that is the look you are after, but if you want the edge to fade evenly, you can trim your larger piece after the sponging is complete.
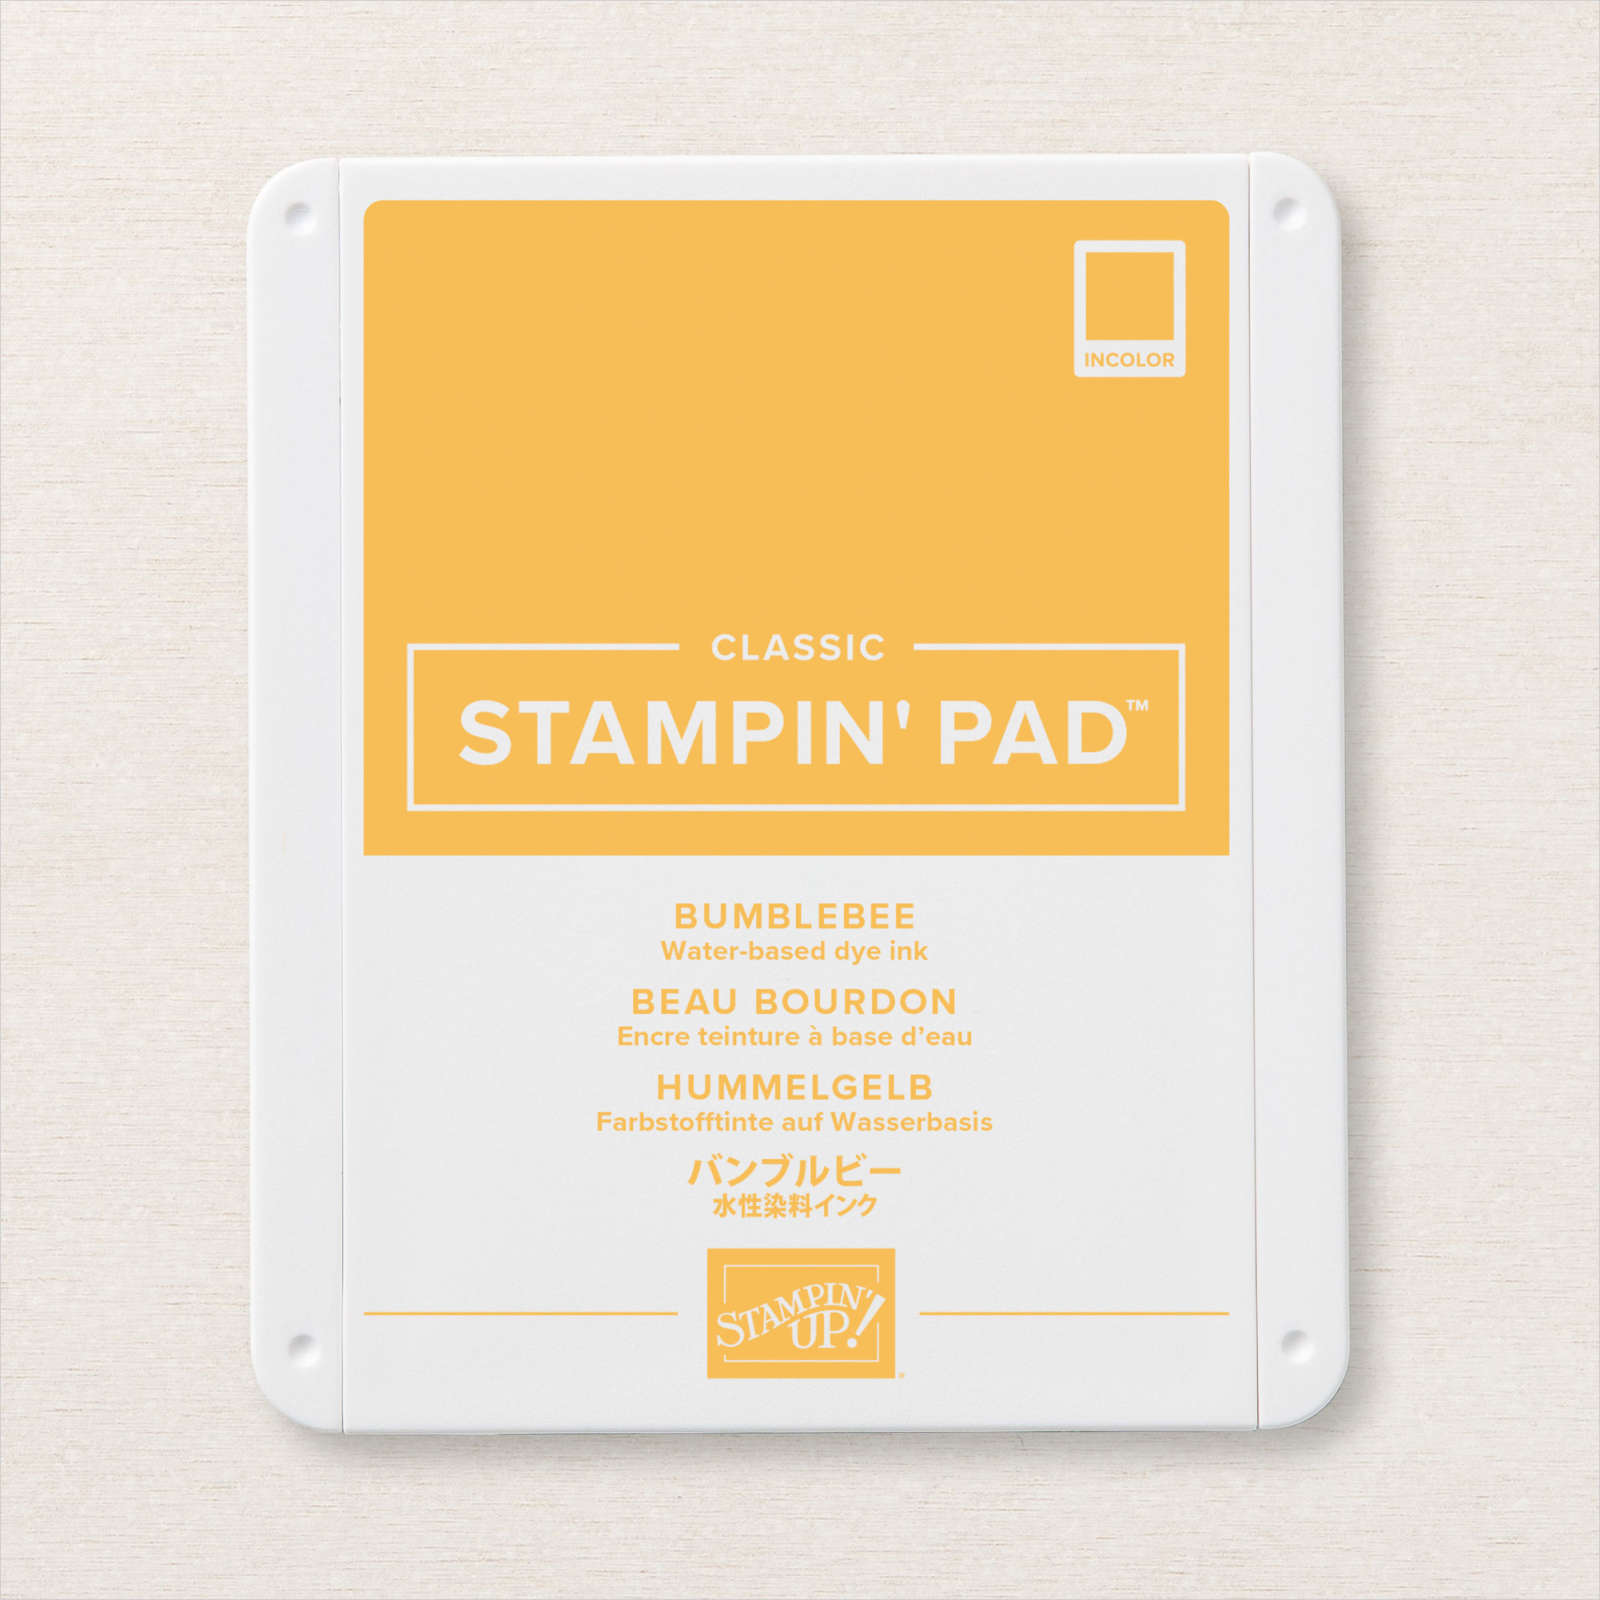
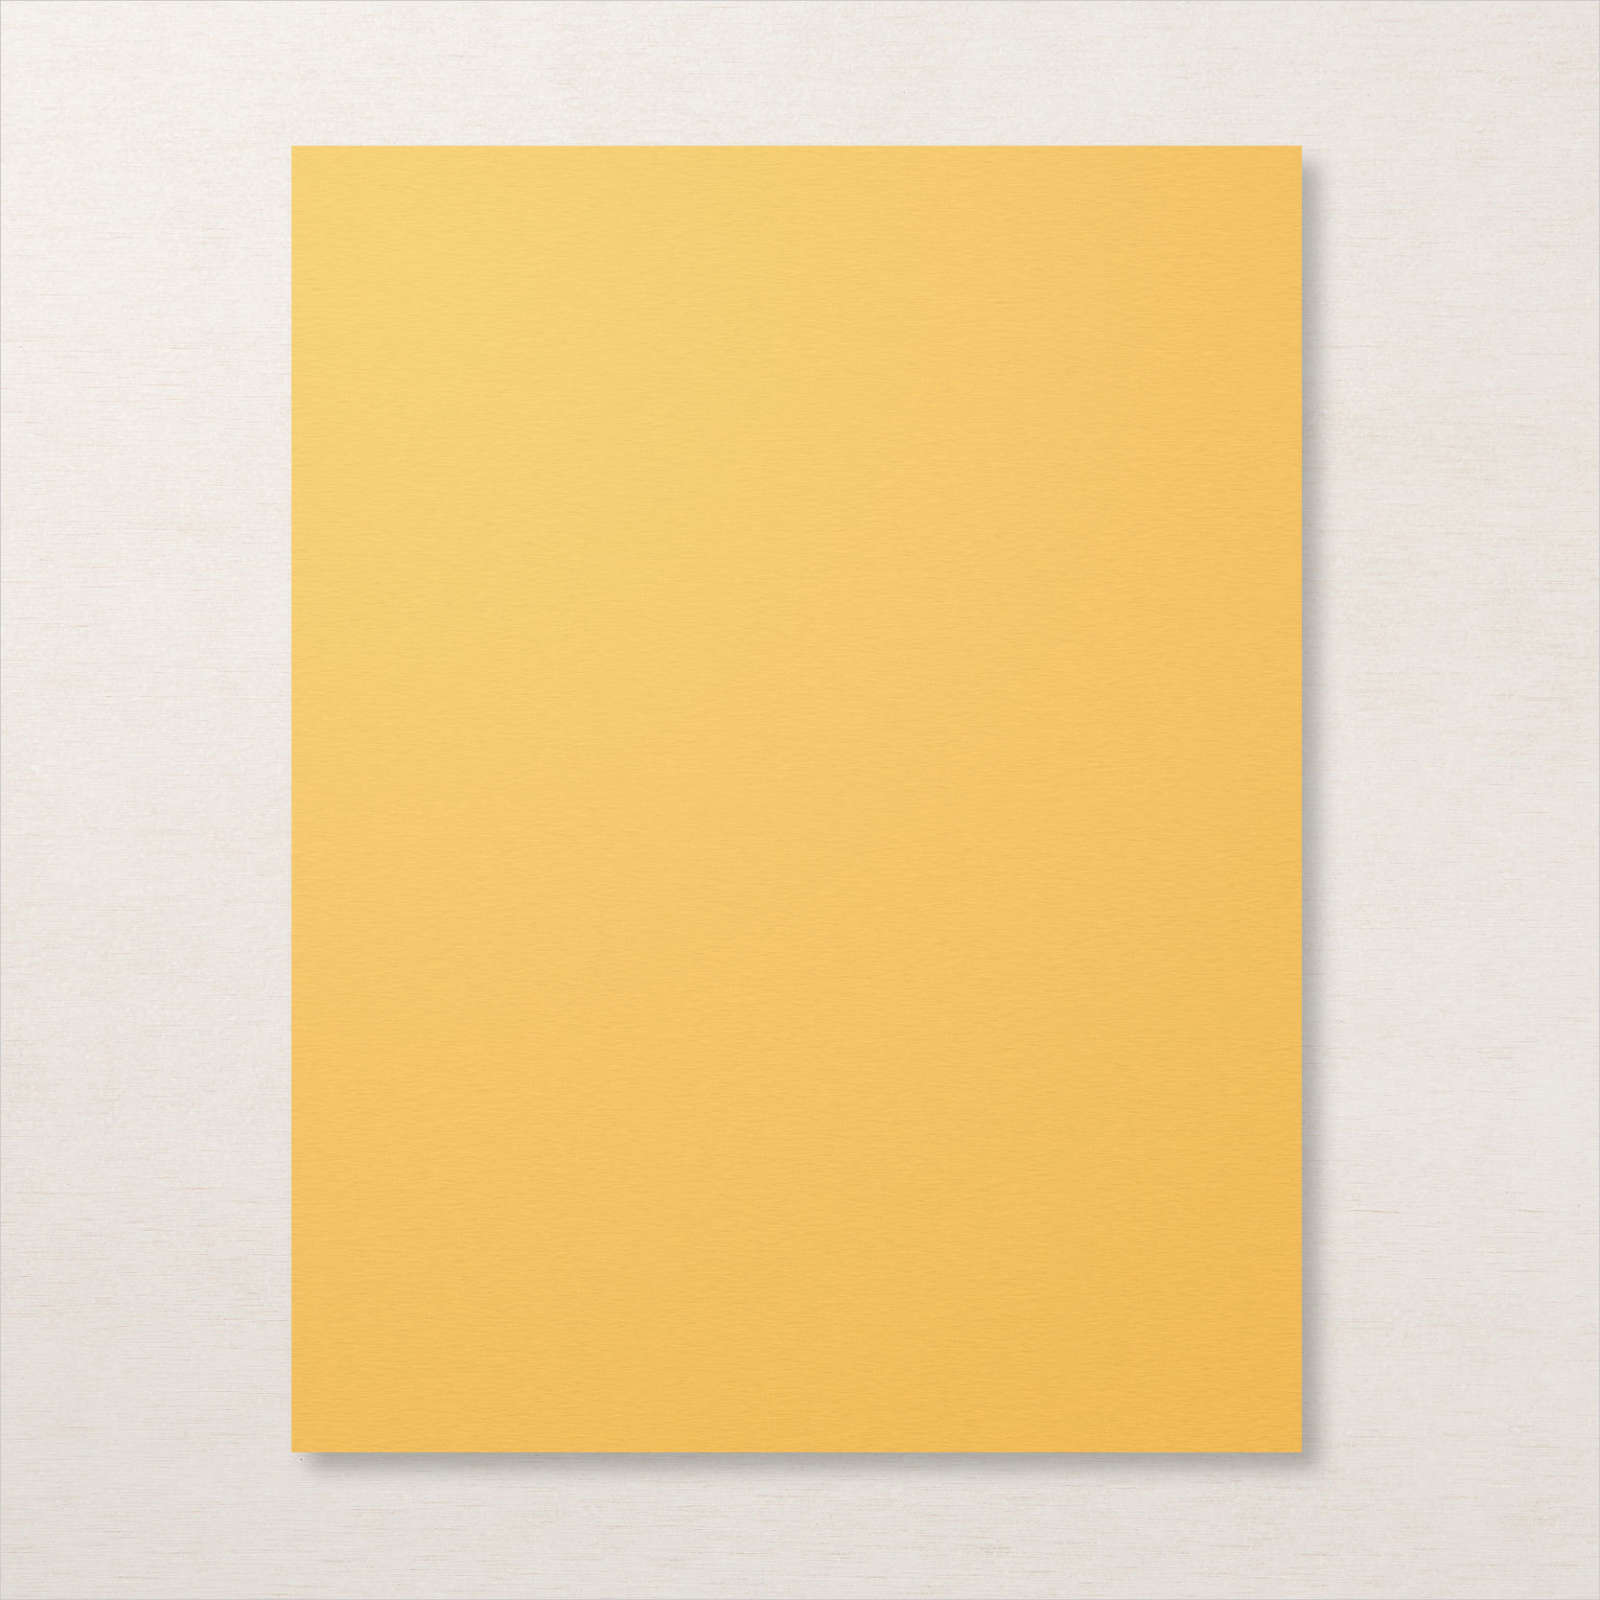
After I finished this, I masked the edges, to sponge the centre with Bumblebee ink.
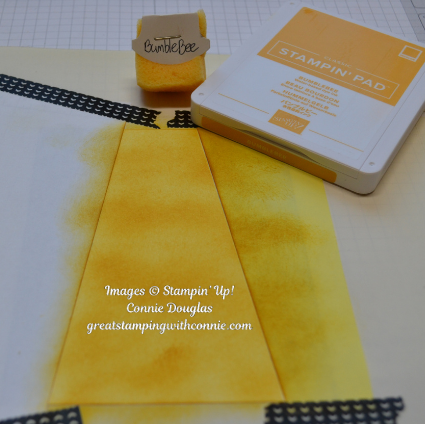
TIP: If you make your mask larger than your cardstock, you can tape it to your workspace to hold it in place. I used Washi Tape to hold my mask down.
With the sponging complete, I stamped my image with Memento Black ink.
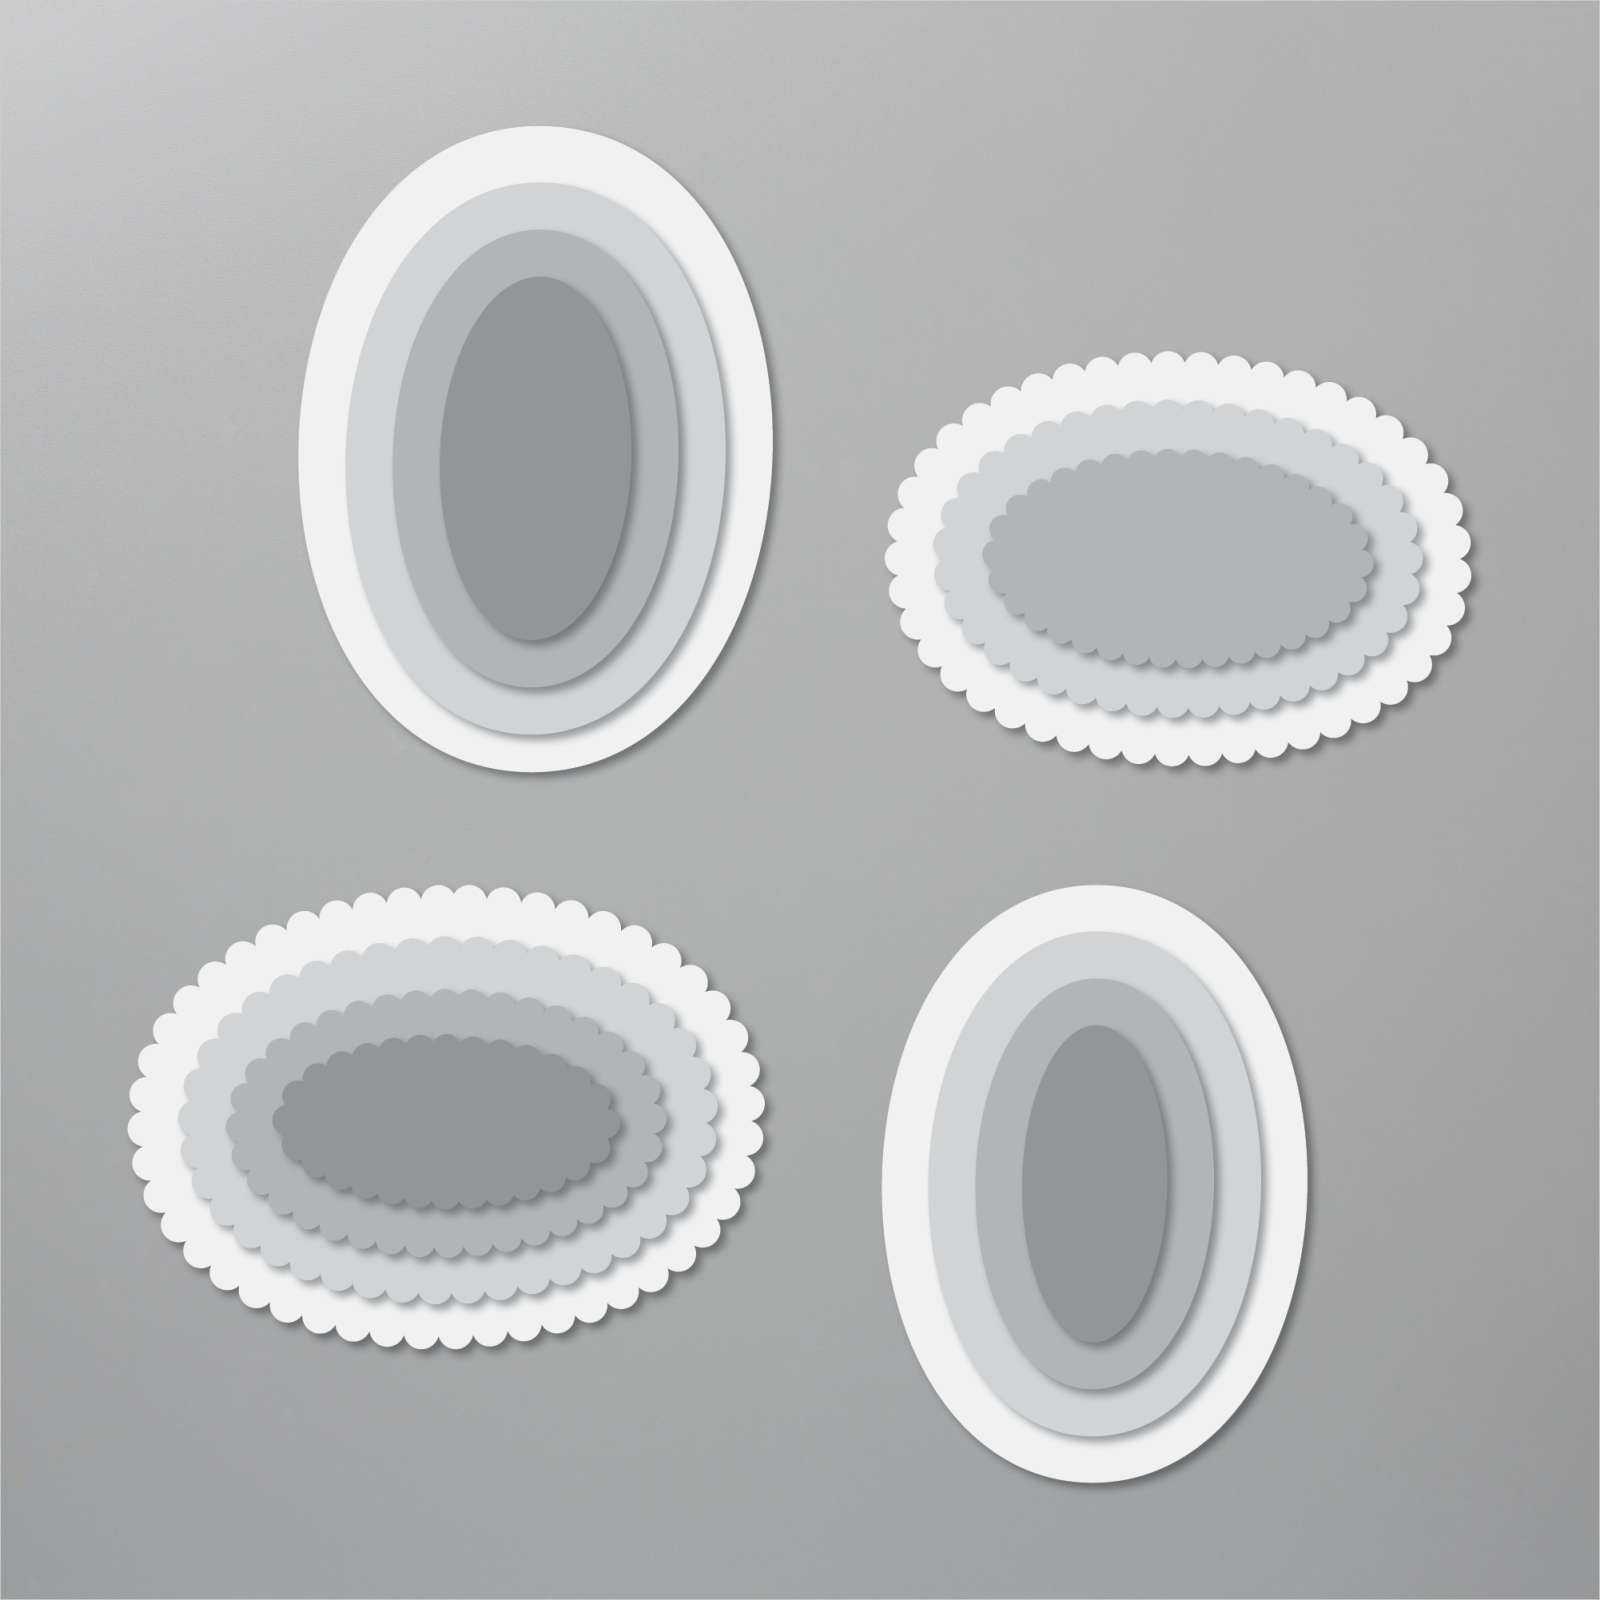
My sentiment is from the Peaceful Nativity stamp set, stamped on Bumblebee cardstock, with a Night of Navy frame, both cut with the Layering Ovals dies. I die cut the star from Gold Foil.

The inside of my card is another piece of Bumblebee cardstock and I stamped the sentiment and animals in Memento Black ink.

Sponging adds some lovely depth and interest to your card, and is easy and fun to do. Why not give it a try!